


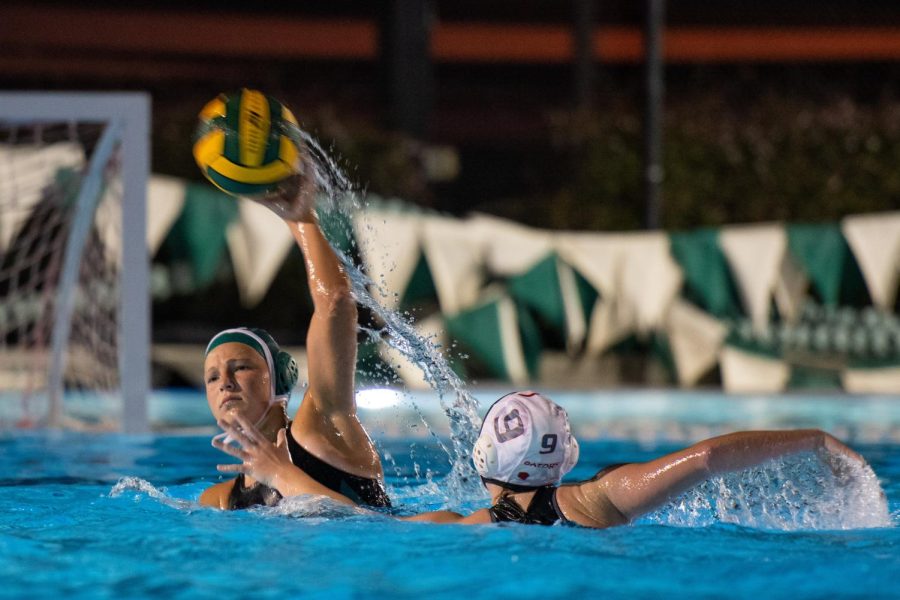
![Setter Emma Lee (9) sets the ball to the middle during the match against Pinewood on Sept. 12. “[I’m looking forward to] getting more skilled, learning more about my position and also becoming better friends with all of my teammates, Emma said.](https://harkeraquila.com/wp-content/uploads/2023/09/DSC_4917-2-1200x795.jpg)


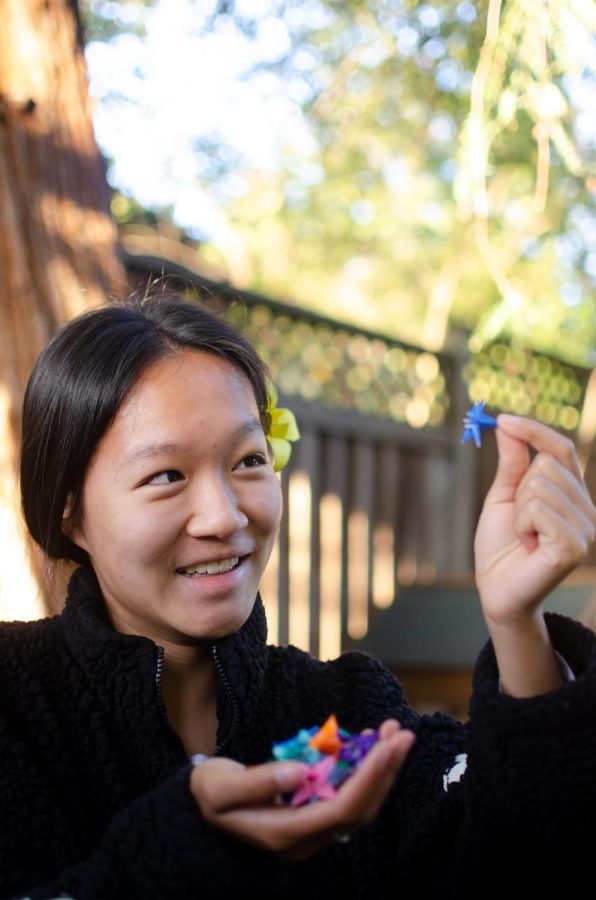
![“[Building nerf blasters] became this outlet of creativity for me that hasnt been matched by anything else. The process [of] making a build complete to your desire is such a painstakingly difficult process, but Ive had to learn from [the skills needed from] soldering to proper painting. Theres so many different options for everything, if you think about it, it exists. The best part is [that] if it doesnt exist, you can build it yourself, Ishaan Parate said.](https://harkeraquila.com/wp-content/uploads/2022/08/DSC_8149-900x604.jpg)

![“Animation just clicked in a way. I had been interested in art, but that felt different. [Animation] felt like it had something behind it, whereas previous things felt surface level. I wasnt making that crazy of things, but just the process of doing it was much more enjoyable, Carter Chadwick (22) said.](https://harkeraquila.com/wp-content/uploads/2022/08/Screen-Shot-2022-08-16-at-9.44.08-AM-900x598.png)

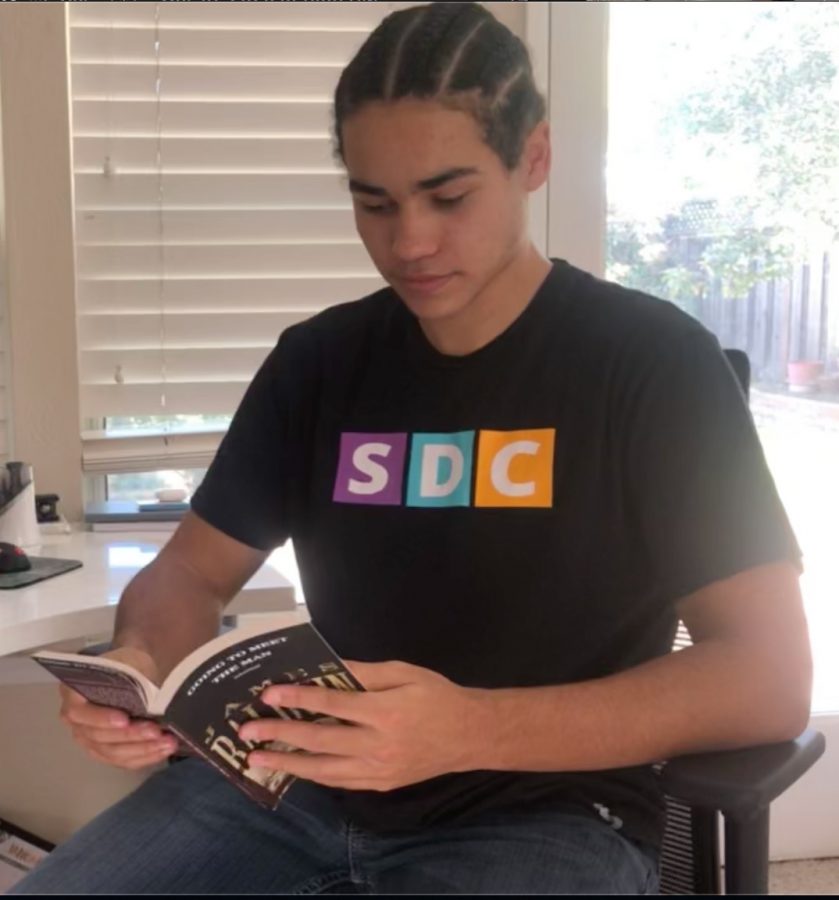
![“When I came into high school, I was ready to be a follower. But DECA was a game changer for me. It helped me overcome my fear of public speaking, and its played such a major role in who Ive become today. To be able to successfully lead a chapter of 150 students, an officer team and be one of the upperclassmen I once really admired is something Im [really] proud of,” Anvitha Tummala (21) said.](https://harkeraquila.com/wp-content/uploads/2021/07/Screen-Shot-2021-07-25-at-9.50.05-AM-900x594.png)


![“[Volleyball has] taught me how to fall correctly, and another thing it taught is that you don’t have to be the best at something to be good at it. If you just hit the ball in a smart way, then it still scores points and you’re good at it. You could be a background player and still make a much bigger impact on the team than you would think,” Anya Gert (’20) said.](https://harkeraquila.com/wp-content/uploads/2020/06/AnnaGert_JinTuan_HoHPhotoEdited-600x900.jpeg)

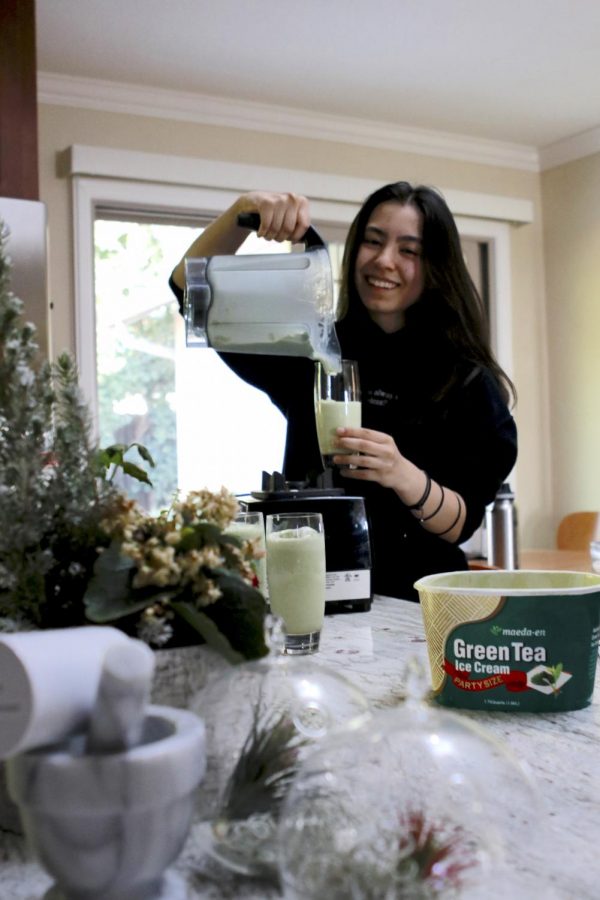
![“Im not nearly there yet, but [my confidence has] definitely been getting better since I was pretty shy and timid coming into Harker my freshman year. I know that theres a lot of people that are really confident in what they do, and I really admire them. Everyones so driven and that has really pushed me to kind of try to find my own place in high school and be more confident,” Alyssa Huang (’20) said.](https://harkeraquila.com/wp-content/uploads/2020/06/AlyssaHuang_EmilyChen_HoHPhoto-900x749.jpeg)


![“My slogan is ‘slow feet, don’t eat, and I’m hungry.’ You need to run fast to get where you are–you arent going to get those championships if you arent fast,” Angel Cervantes (12) said. “I want to do well in school on my tests and in track and win championships for my team. I live by that, [and] I can do that anywhere: in the classroom or on the field.”](https://harkeraquila.com/wp-content/uploads/2018/06/DSC5146-900x601.jpg)

![“I think getting up in the morning and having a sense of purpose [is exciting]. I think without a certain amount of drive, life is kind of obsolete and mundane, and I think having that every single day is what makes each day unique and kind of makes life exciting,” Neymika Jain (12) said.](https://harkeraquila.com/wp-content/uploads/2017/06/Screen-Shot-2017-06-03-at-4.54.16-PM.png)


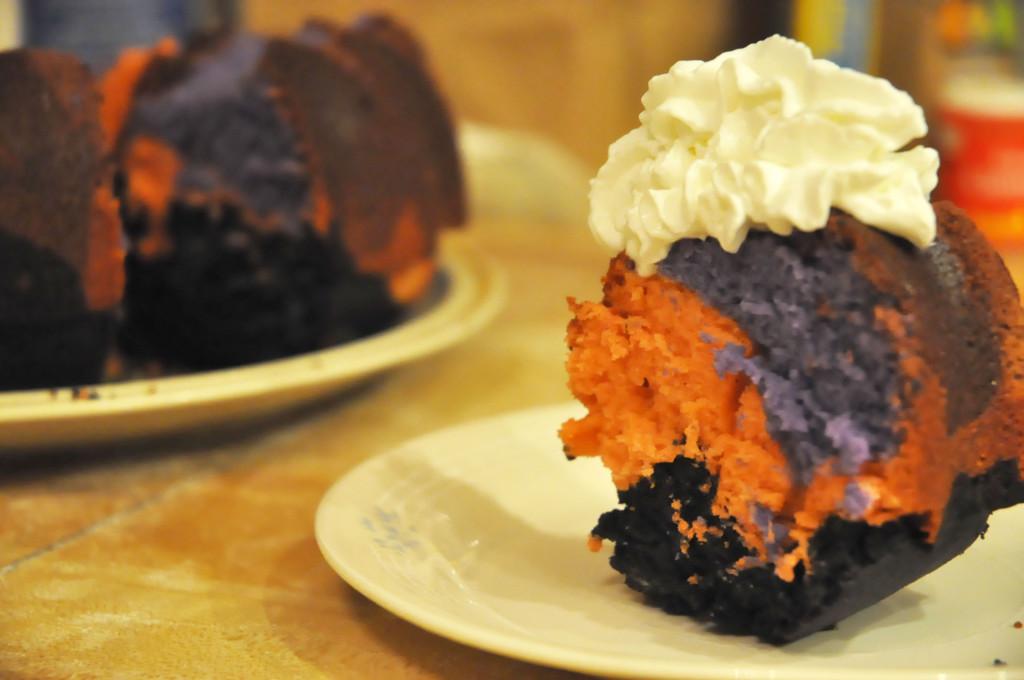
In a Nut Shell: Vanilla bean bundt cake
For most dishes, we advocate the “just put some theory.” Who’s actually going to measure out a quarter teaspoon of salt to season a stir-fry? Yeah, pretty much nobody. But when baking, “just put some” crashes and burns, literally.
The point? Nobody messes with baking.
With that in mind, let’s get started!
Recipe (inspired by Sweetapolita):
Notes
- Difficulty: Easy
- Length: Not short due to baking and cooling time
- Keep in mind: don’t overfold, don’t overbake, cool completely
- Why we made it: it’s cake
- Why you should make it: it’s cake.
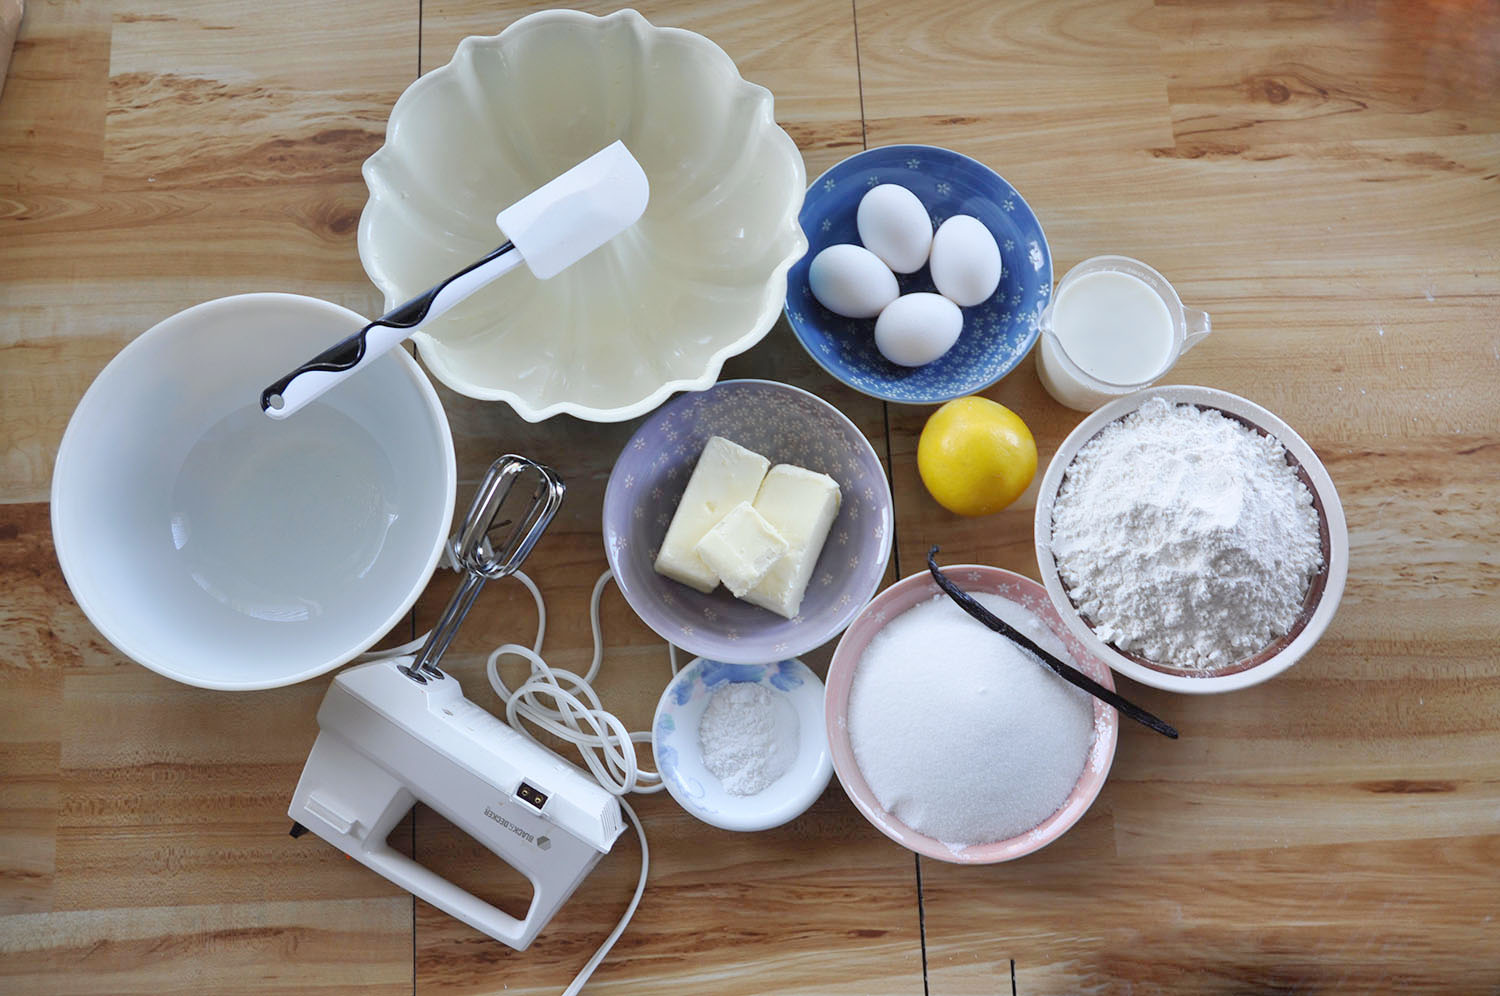
Ingredients
- 2 1/2 cups (320 g) all-purpose flour, sifted
- 1 teaspoon (4 g) baking powder
- 1/2 teaspoon (2 g) baking soda
- 1/2 teaspoon (4 g) salt
- 1 cup + 2 tablespoons (2-1/4 sticks)(255 g) unsalted butter, softened
- 1-3/4 cups (350 g) granulated sugar
- 1 vanilla bean (these are in normal grocery stores, but are quite pricey. We recommend buying them online; Beanilla is a good place to start), halved lengthwise or 2 tablespoons (30 ml) vanilla bean paste or vanilla extract (If you can’t find a vanilla bean, just substitute with paste or extract)
- 4 large eggs, at room temperature (Make sure these aren’t left out for over an hour. They might become unsafe)
- 1/4 teaspoon (1.25 ml) lemon juice
- 1 cup buttermilk, at room temperature (or substitute)
Equipment
- Two large mixing bowls
- Bundt pan (technically optional, but highly recommended)
- Spatula
- Paring knife
- Whisk (or standing mixer or handheld mixer, depending on how much elbow grease you can spare)
- Elbow grease
- Optional: Ice cream scoop, extra small bowls
Preheat your oven to 350° F so you don’t have to wait later on.
We didn’t have any buttermilk, so we made our own. Use one tablespoon of lemon juice and then fill up the rest of the cup with normal milk. Do this first and let it stand for 5 minutes.

We pre-sifted our flour to make adding it into the batter easier. Sifting is crucial to remove any lumps and make a lighter, fluffier, more consistent batter.
After sifting, add in the other dry ingredients (baking powder, baking soda, salt), and whisk into the flour to incorporate.

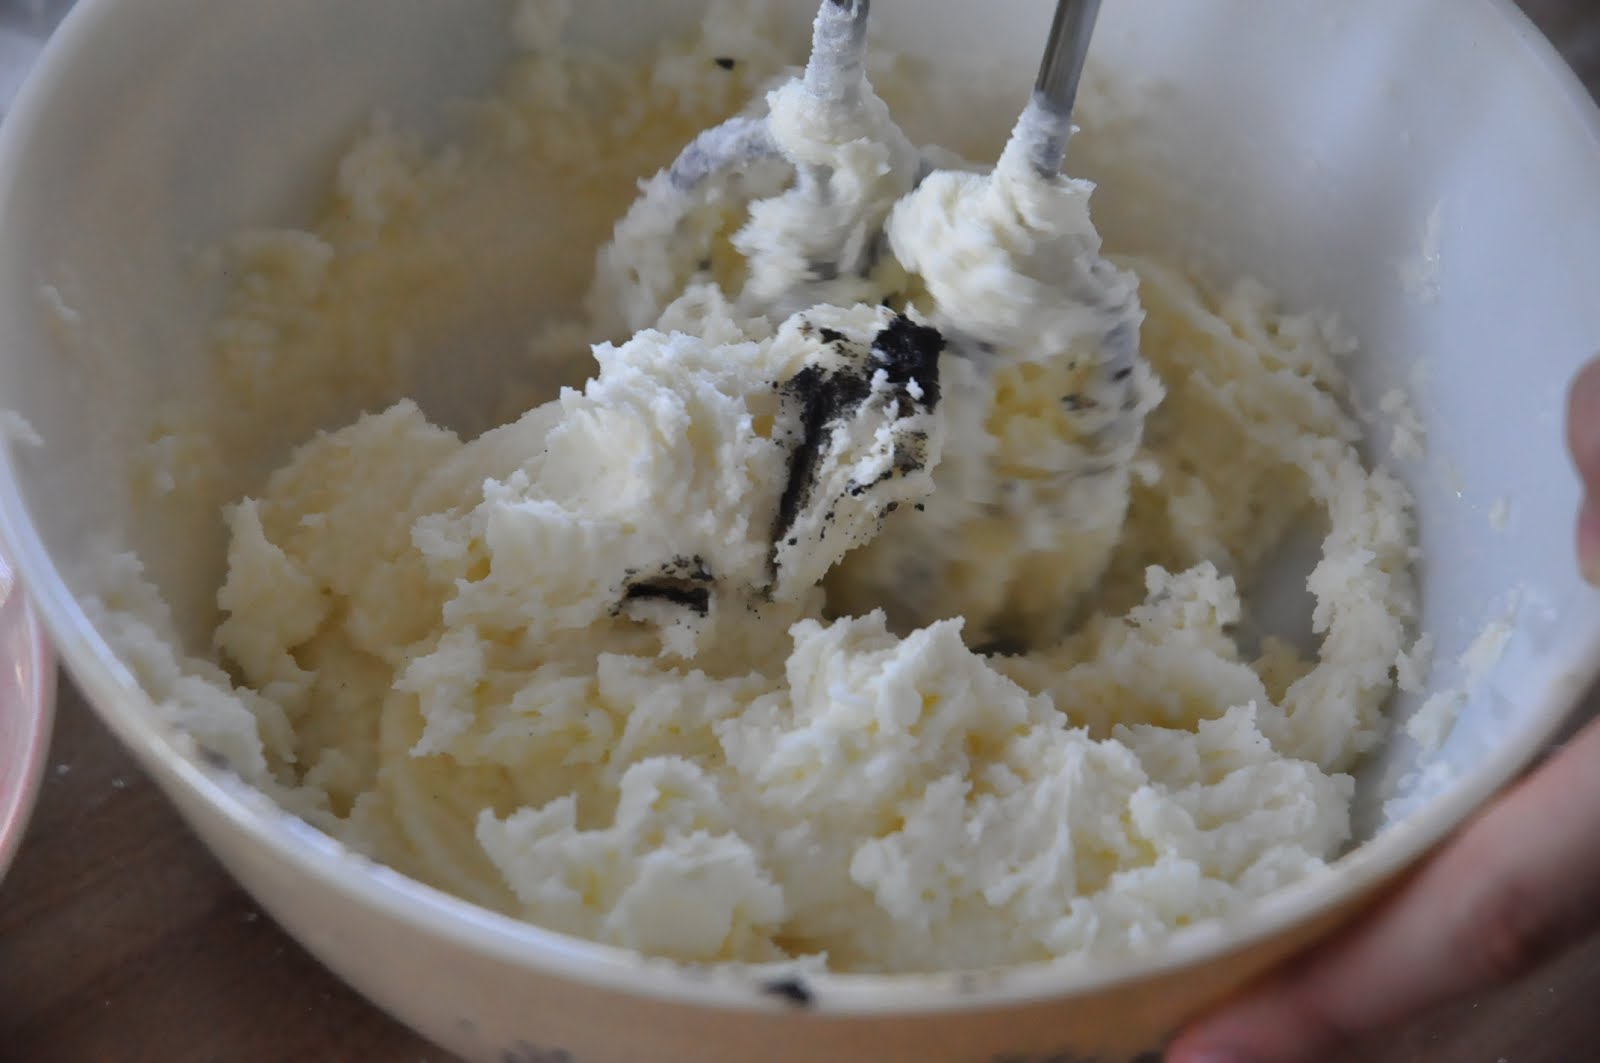
Now to combine everything: put the butter and sugar in a bowl and beat until light and fluffy.

Split a vanilla bean lengthwise, and, with the back of your knife, scrape down the middle to obtain the seeds.
DO NOT throw away the pod. Store it in a deflated ziploc bag in a cool, dry place. It has a HUGE amount of flavor. Collect the pods and put them to good use! Find out how to do that HERE.
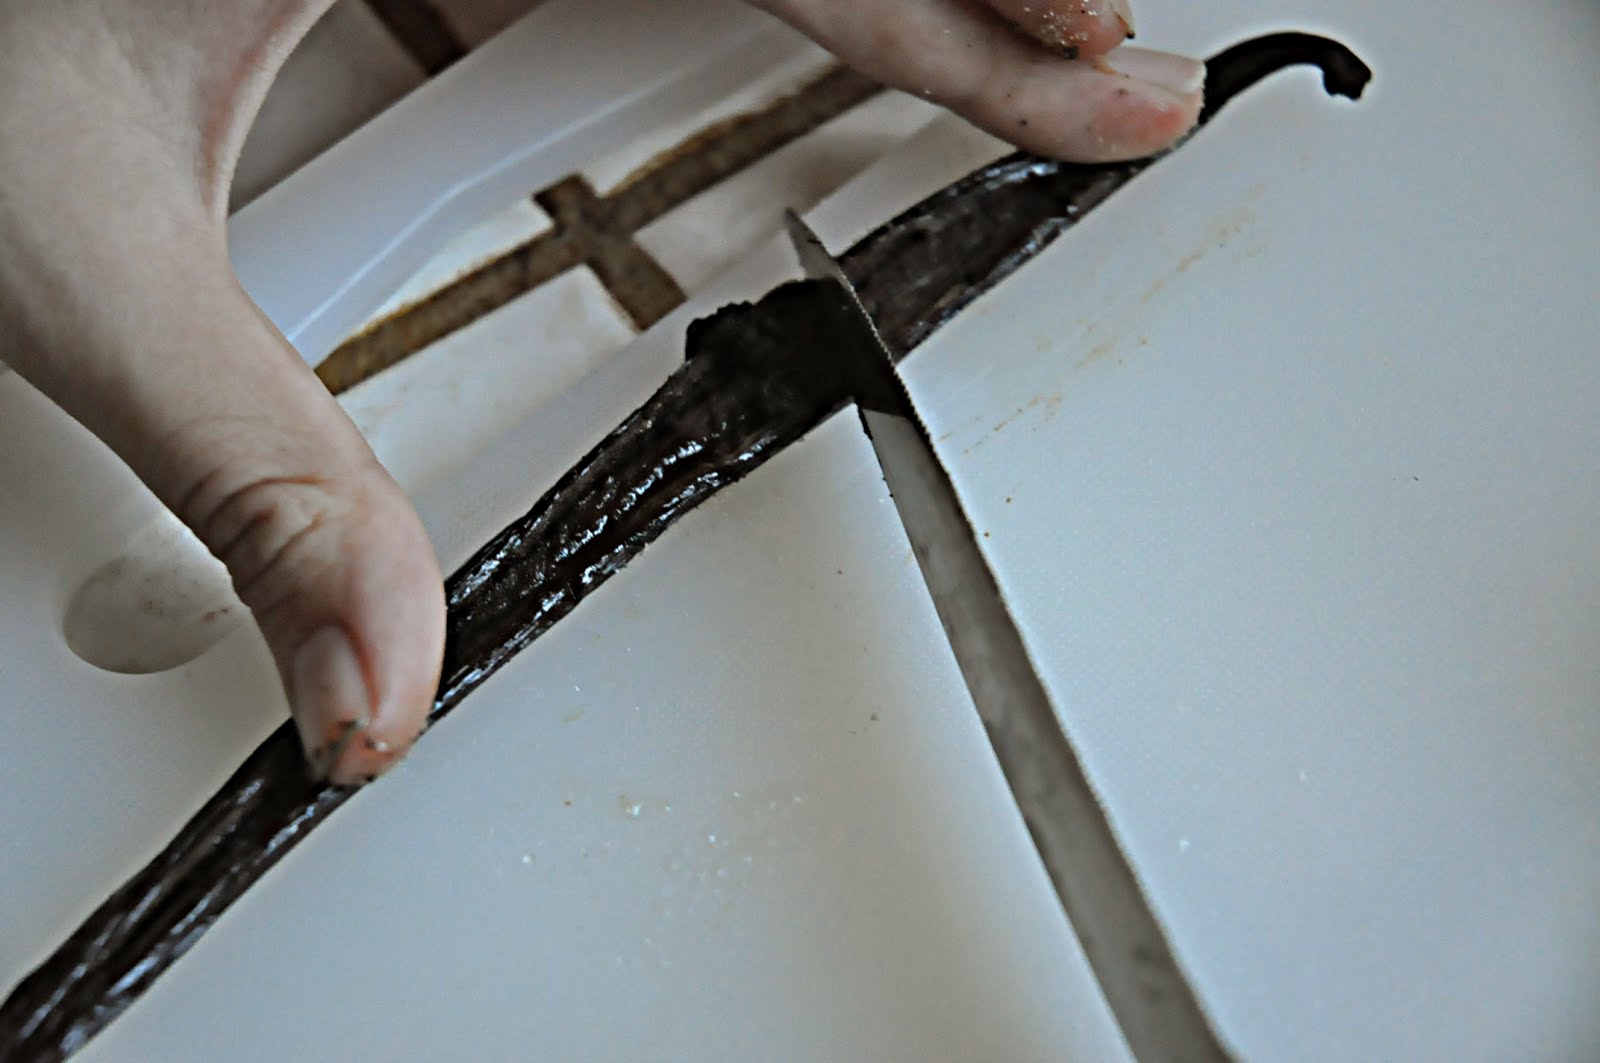
Ahh…let’s just sit back and admire those little black dots.
After your butter sugar vanilla mixture is mixed and fluffy, add in the wet ingredients (Eggs one at a time, buttermilk and lemon juice slowly). At this point your mixture might separate and look pretty disgusting. Don’t freak out; everything will be okay.

Then add your flour mixture! At this point it might be a good idea to switch to a spatula, which will make mixing easier. And you don’t want to overbeat the batter and end up with a really dense, dry cake.
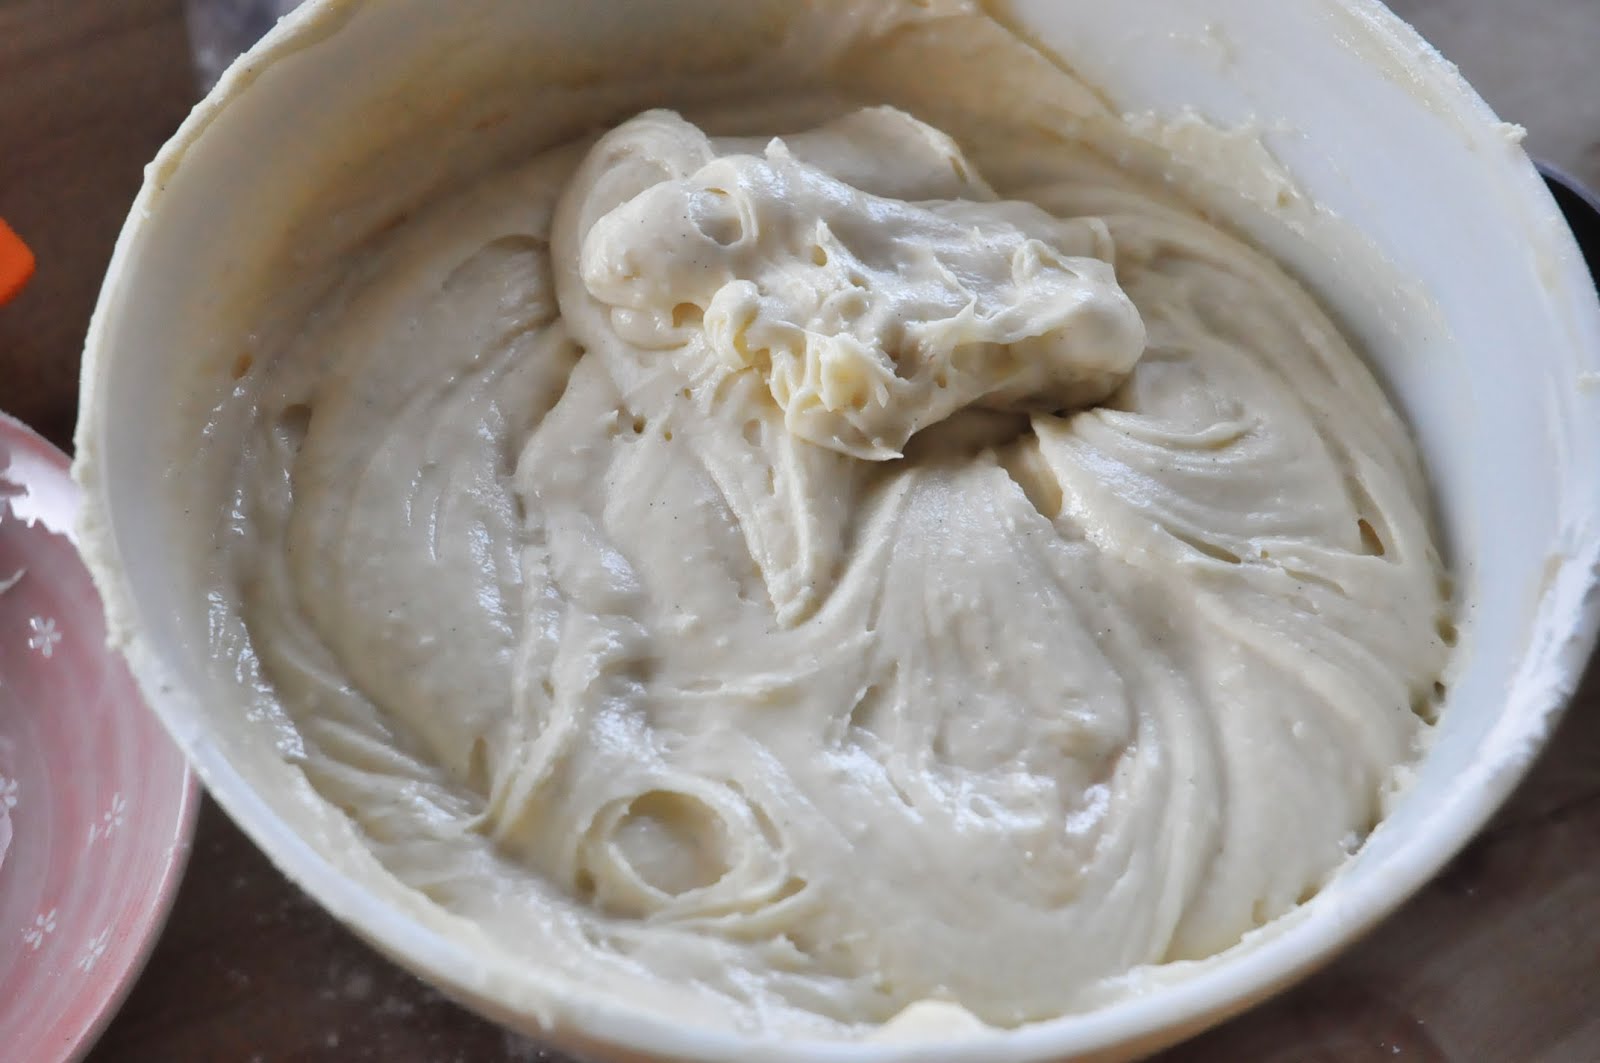
Mmm…refrain from eating too much of the batter at this point. (Yes, it’s delicious. Yes, we ate some. Oops.)
At this point you can just pour the mixture into the bundt pan (or any pan, really). However, since it’s around Halloween, we decided to make our cake Halloween-colored.
Scoop the batter into separate bowls with a handy dandy ice cream scoop! An ice cream scoop is probably the most versatile and most badly-named piece of equipment ever. You’ll see us use it a lot. It should really be called an “everything scoop.”

We decided to dye our batter purple, orange, and black. Since we used gel coloring (by Wilton), we didn’t have to worry about the consistency of the batter.
If you’re using liquid coloring, make sure you account for the extra liquid and adjust the recipe (more flour, or less milk, your choice).
We highly recommend investing in a set of gel colors if you’re a fan of decorating, just because they’re more vibrant, easier to use, and more concentrated (meaning you use less for the same shade).
*Note: Black is a really difficult color to obtain, so be prepared to use more of that color (either that or add cocoa powder before using coloring to make it darker). Also, if you’re willing to let the batter sit for a while, the black will become much blacker. However, if you don’t let it sit (we didn’t), and just use enough coloring, the result is fine anyway.

Here comes the fun part! Layer it up! We layered it purple on top, orange in the middle, and black on the bottom. It’s completely up to you how you want to do it.

Place your hard work in the *preheated* oven and let it bake for 1 hour (We know, the agony of waiting). When the oven finally gives you a satisfying beep, take a skewer (or chopstick in our case) and poke the thickest part of the cake all the way through.
If it comes out clean, take out the cake and let it cool completely before taking it out (Make sure you do this or else your cake might get stuck in the pan and break). Cooling may take up to two hours.

Place a plate over the pan and flip over. Hopefully it’ll come out when you do this, but if not, run a skewer around the edge and try again.
Cut out a slice and garnish with whipped cream if you wish.
Enjoy!
And so we leave you with a quote.
“My policy on cake is pro having it and pro eating it.” -Boris Johnson, Mayor of London