


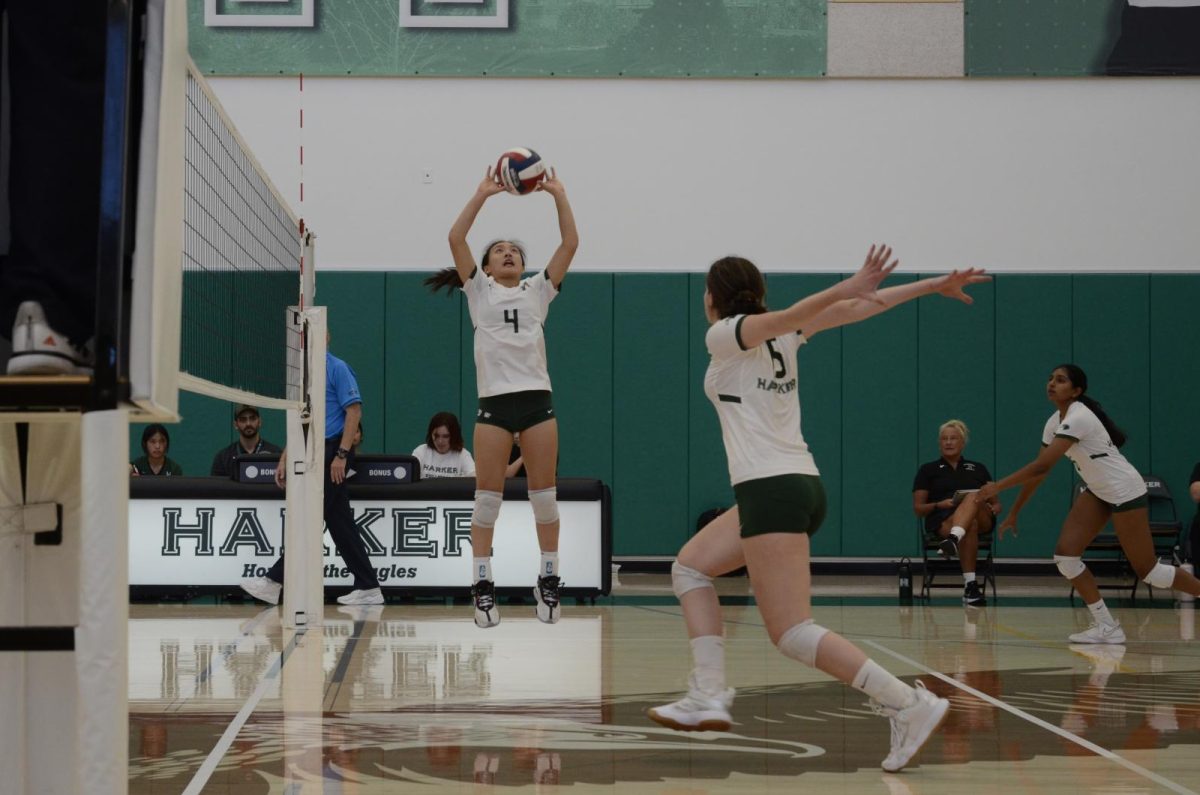
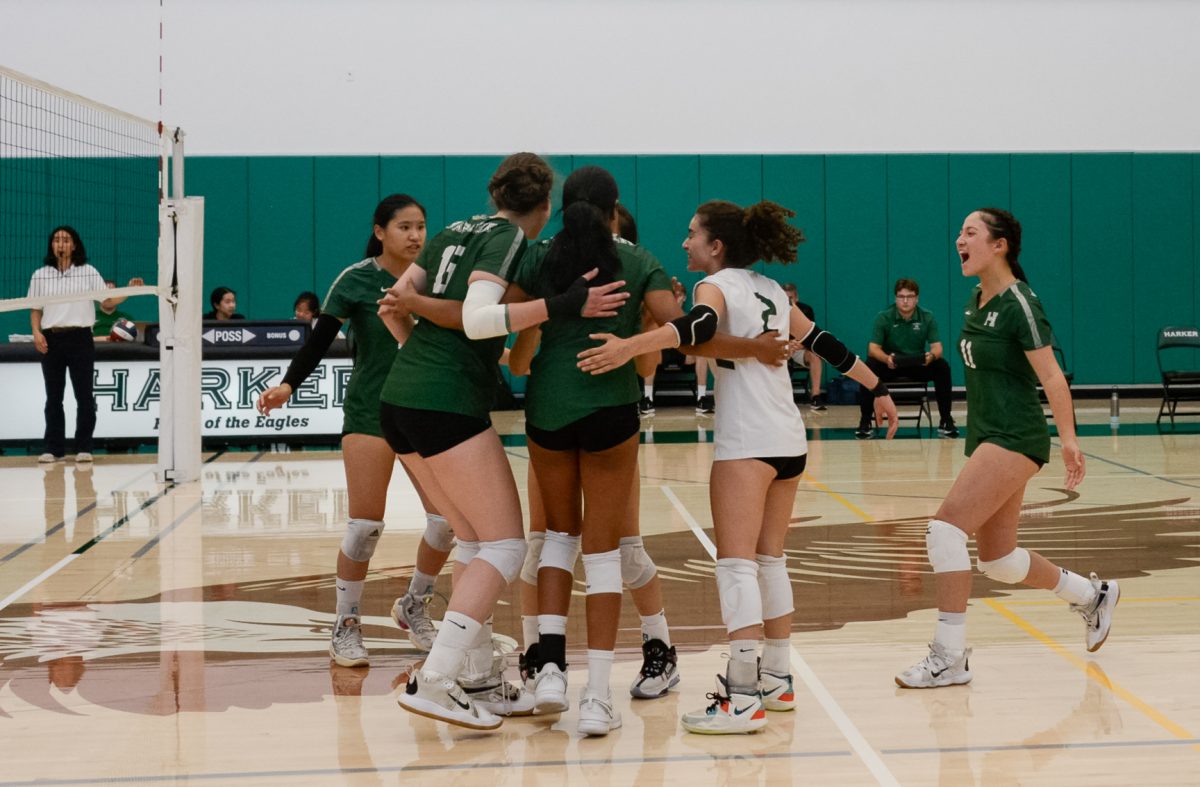
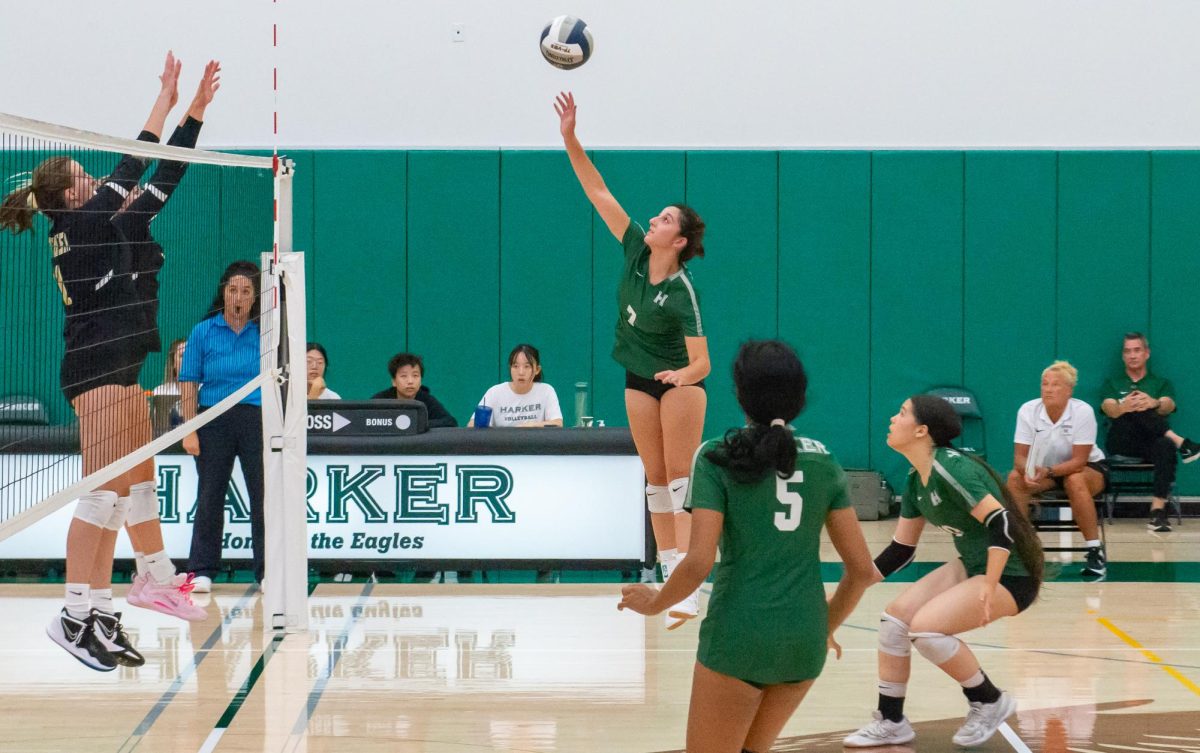
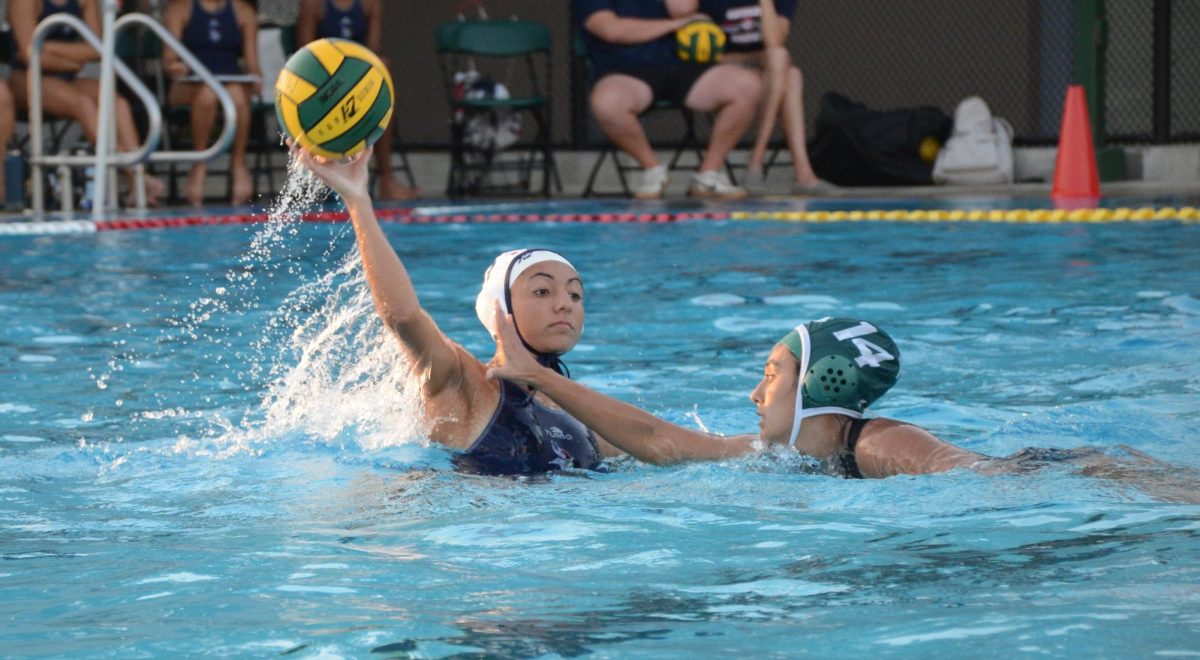
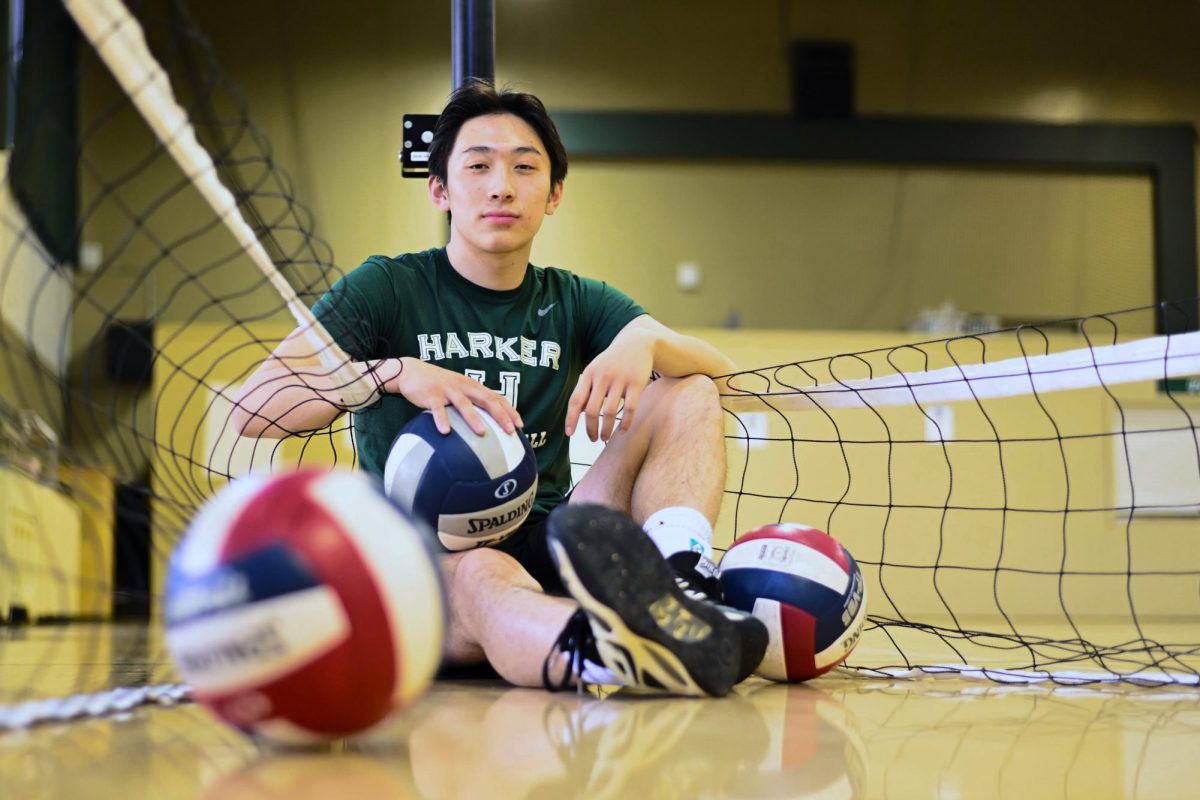
![Setter Emma Lee (9) sets the ball to the middle during the match against Pinewood on Sept. 12. “[I’m looking forward to] getting more skilled, learning more about my position and also becoming better friends with all of my teammates, Emma said.](https://harkeraquila.com/wp-content/uploads/2023/09/DSC_4917-2-1200x795.jpg)


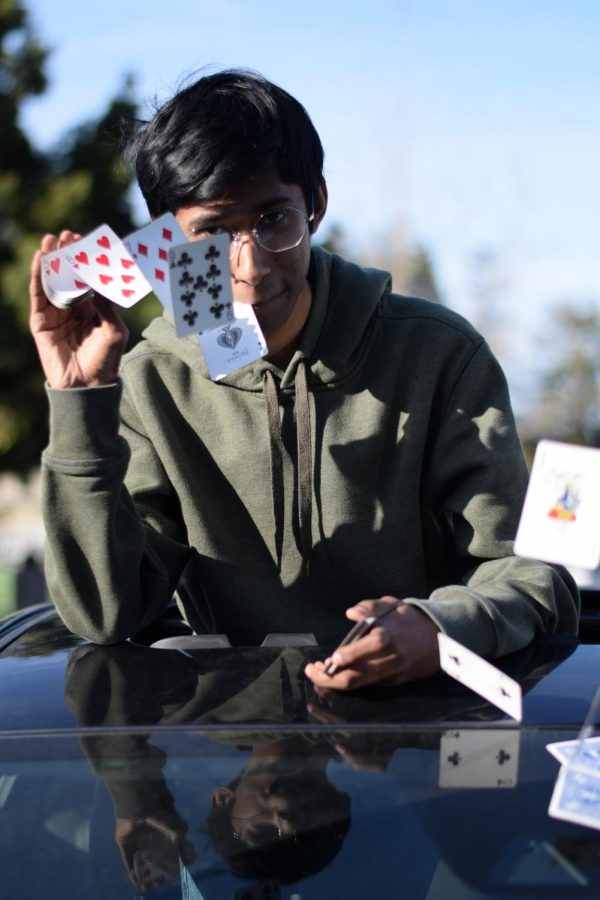
![“[Building nerf blasters] became this outlet of creativity for me that hasnt been matched by anything else. The process [of] making a build complete to your desire is such a painstakingly difficult process, but Ive had to learn from [the skills needed from] soldering to proper painting. Theres so many different options for everything, if you think about it, it exists. The best part is [that] if it doesnt exist, you can build it yourself, Ishaan Parate said.](https://harkeraquila.com/wp-content/uploads/2022/08/DSC_8149-900x604.jpg)
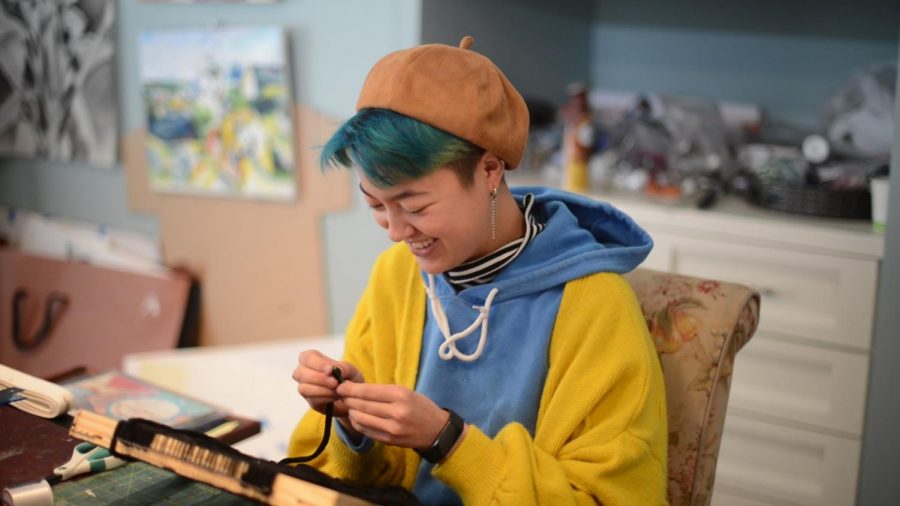
![“Animation just clicked in a way. I had been interested in art, but that felt different. [Animation] felt like it had something behind it, whereas previous things felt surface level. I wasnt making that crazy of things, but just the process of doing it was much more enjoyable, Carter Chadwick (22) said.](https://harkeraquila.com/wp-content/uploads/2022/08/Screen-Shot-2022-08-16-at-9.44.08-AM-900x598.png)

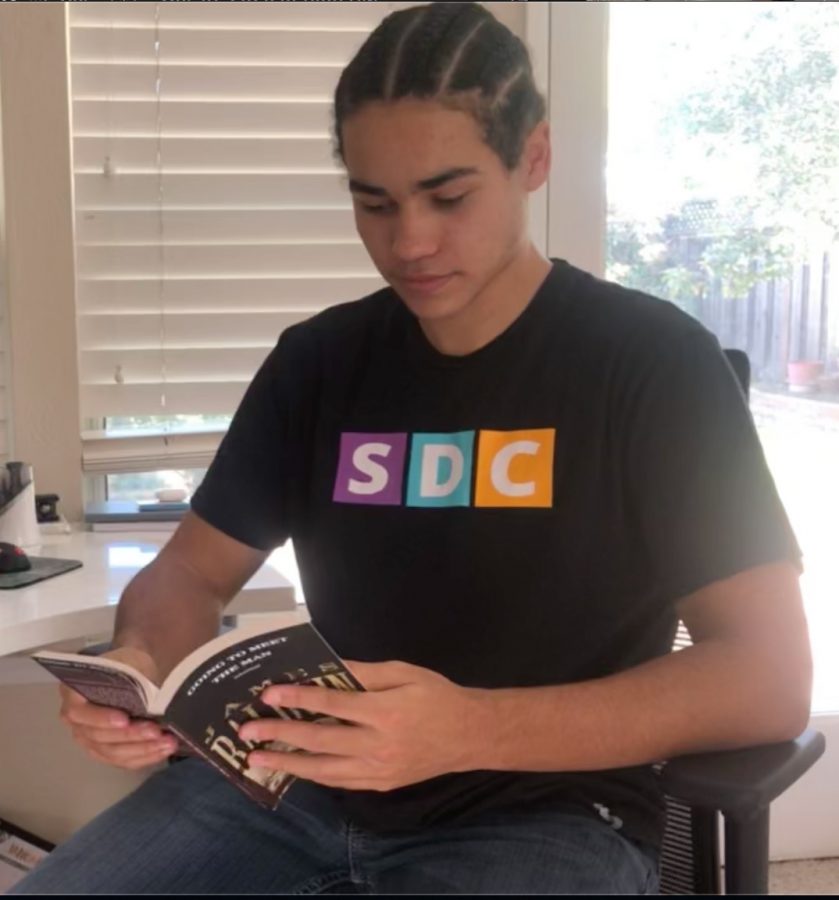
![“When I came into high school, I was ready to be a follower. But DECA was a game changer for me. It helped me overcome my fear of public speaking, and its played such a major role in who Ive become today. To be able to successfully lead a chapter of 150 students, an officer team and be one of the upperclassmen I once really admired is something Im [really] proud of,” Anvitha Tummala (21) said.](https://harkeraquila.com/wp-content/uploads/2021/07/Screen-Shot-2021-07-25-at-9.50.05-AM-900x594.png)


![“[Volleyball has] taught me how to fall correctly, and another thing it taught is that you don’t have to be the best at something to be good at it. If you just hit the ball in a smart way, then it still scores points and you’re good at it. You could be a background player and still make a much bigger impact on the team than you would think,” Anya Gert (’20) said.](https://harkeraquila.com/wp-content/uploads/2020/06/AnnaGert_JinTuan_HoHPhotoEdited-600x900.jpeg)
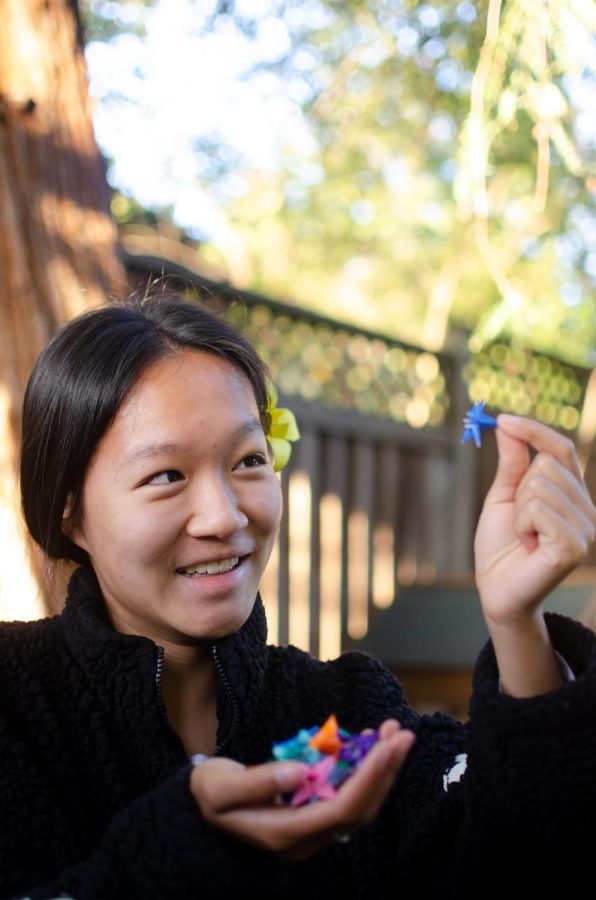
![“Im not nearly there yet, but [my confidence has] definitely been getting better since I was pretty shy and timid coming into Harker my freshman year. I know that theres a lot of people that are really confident in what they do, and I really admire them. Everyones so driven and that has really pushed me to kind of try to find my own place in high school and be more confident,” Alyssa Huang (’20) said.](https://harkeraquila.com/wp-content/uploads/2020/06/AlyssaHuang_EmilyChen_HoHPhoto-900x749.jpeg)


![“My slogan is ‘slow feet, don’t eat, and I’m hungry.’ You need to run fast to get where you are–you arent going to get those championships if you arent fast,” Angel Cervantes (12) said. “I want to do well in school on my tests and in track and win championships for my team. I live by that, [and] I can do that anywhere: in the classroom or on the field.”](https://harkeraquila.com/wp-content/uploads/2018/06/DSC5146-900x601.jpg)

![“I think getting up in the morning and having a sense of purpose [is exciting]. I think without a certain amount of drive, life is kind of obsolete and mundane, and I think having that every single day is what makes each day unique and kind of makes life exciting,” Neymika Jain (12) said.](https://harkeraquila.com/wp-content/uploads/2017/06/Screen-Shot-2017-06-03-at-4.54.16-PM.png)


D.I.Y. Nail Art
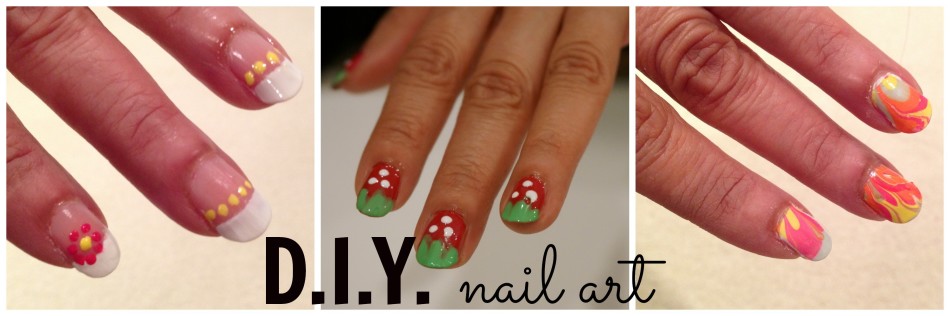
The nail art craze does not seem to be disappearing anytime soon, spotted at countless runways at New York Fashion Week. Embellish your fingernails for the spring with darling flowers, delectable strawberries, or marbled swirls. Chic manicure? Nailed it!
Flower Power:
This charming design incorporates dainty flowers and colored polish to create a fresh, spring look.
You Will Need:
- Base coat
- White nail polish
- Clear top coat
- Makeup brush or paintbrush
- Toothpick
- Yellow nail polish
- Colored polish of your choice
- Toothpick
How-To:
- Begin with a regular French manicure. Apply a top coat over the nail.
-
Quick Tip: French manicures can be created in many different ways. After applying a base coat to your nails, try keeping the brush of a white polish steady while rotating your finger underneath the brush. Alternatively, cut a binder hole reinforcement sticker in half, lay it over your nail, and use the curved edge as a guideline for the white polish.
-
-
Using a toothpick, apply a dot of yellow polish to your nail. This will be the center of the flower.
-
Using the back of a makeup brush or paintbrush, dot a colored polish of your choice around the yellow dot to create the flower petals.
-
Seal your design with a top coat.
-
For the rest of your nails, use a toothpick to dot the yellow polish in a ring underneath the French tip of each nail.
- Seal your design with a top coat.
Strawberry Shortcake:
These juicy, delectable nails look good enough to eat.
You Will Need:
-
Base coat
-
Coral-red nail polish
-
Green nail polish
-
Small paint brush or makeup brush
-
White nail polish
-
Clear top coat
-
Optional: green glitter nail polish
How-To:
-
Apply a base coat to your nails.
-
Paint your nails two coats of a coral-red polish.
-
Using a green polish, paint three rounded blobs at the outer tip of your nail.
-
Using a small paint brush or the back of a makeup brush, apply white dots to the red portion of your nail. Try to keep the dot pattern symmetrical and consistent for best results.
-
If desired, apply a green glitter polish over the leaves to add a hint of sparkle.
- Seal your design with a top coat.
Water Marble:
This vivid nail art design employs room temperature water and bright polish to create nails that are truly one-of-a-kind.
You Will Need:
-
Scotch tape
-
Base coat
-
Medium-sized bowl
-
Room-temperature water (*Note: the water must be room-temperature in order for this technique to work.)
-
3 bright nail polishes of your choice (Make sure that the polishes are newly bought so that they have not thickened.)
-
Toothpick
-
Cotton swab
-
Nail polish remover
-
Clear top coat
How-To:
-
Place Scotch tape around the edges of your nail. Use a piece of tape on either side of your nail and at the base of your nail.
-
Apply a base coat to your nails.
-
Paint your nails with two coats of a white polish.
-
Using a bowl of room-temperature water and a bright nail polish of your choice, drop a small amount of polish on the surface of the water. If the color does not spread out over the surface of the water, you may have to adjust either the temperature of thee water or the quality of the polish.
-
Using a second bright polish, drop a small amount of polish over the existing polish on the surface of the water. Repeat the process with a third bright polish.
-
Repeat the process a second time with all three bright polishes, ensuring to drop them in the same order.
-
Use a toothpick to quickly create a design on the surface of the water.
-
Lay your nail onto the surface of the water, making sure to align it with the design you created.
-
Leave your nail underwater for about 5-10 seconds. Gently blow on the surface of the water to dry the polish.
-
Remove your nail from the water and peel off the tape surrounding it.
-
Use a cotton swab dipped in nail polish remover to clean up any polish around the edges of your nail.
- Seal your design with a clear top coat.
This piece was originally published in the pages of the Winged Post on Apr. 4, 2014.
Riya Godbole is the Lifestyle Editor of The Winged Post. She is a senior and has been part of the journalism program since her freshman year. Her favorite...