

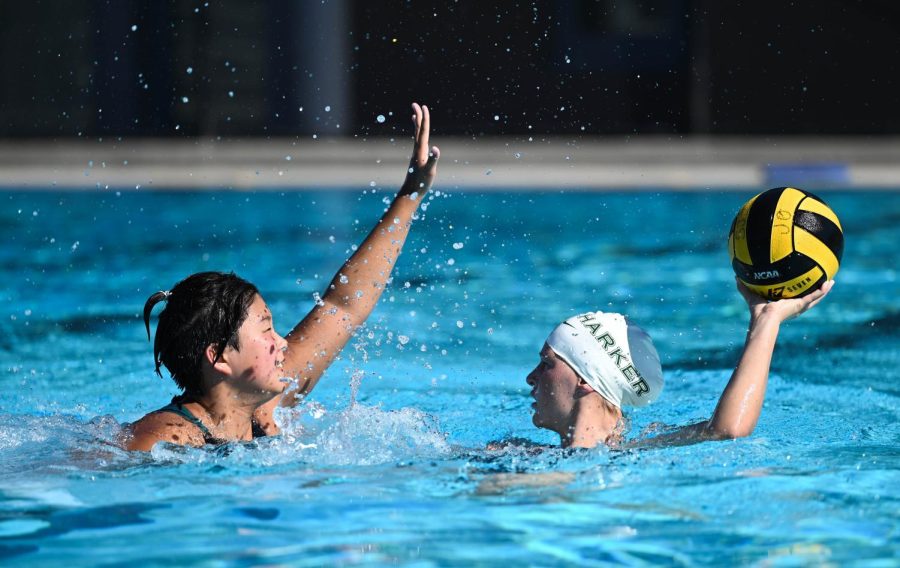


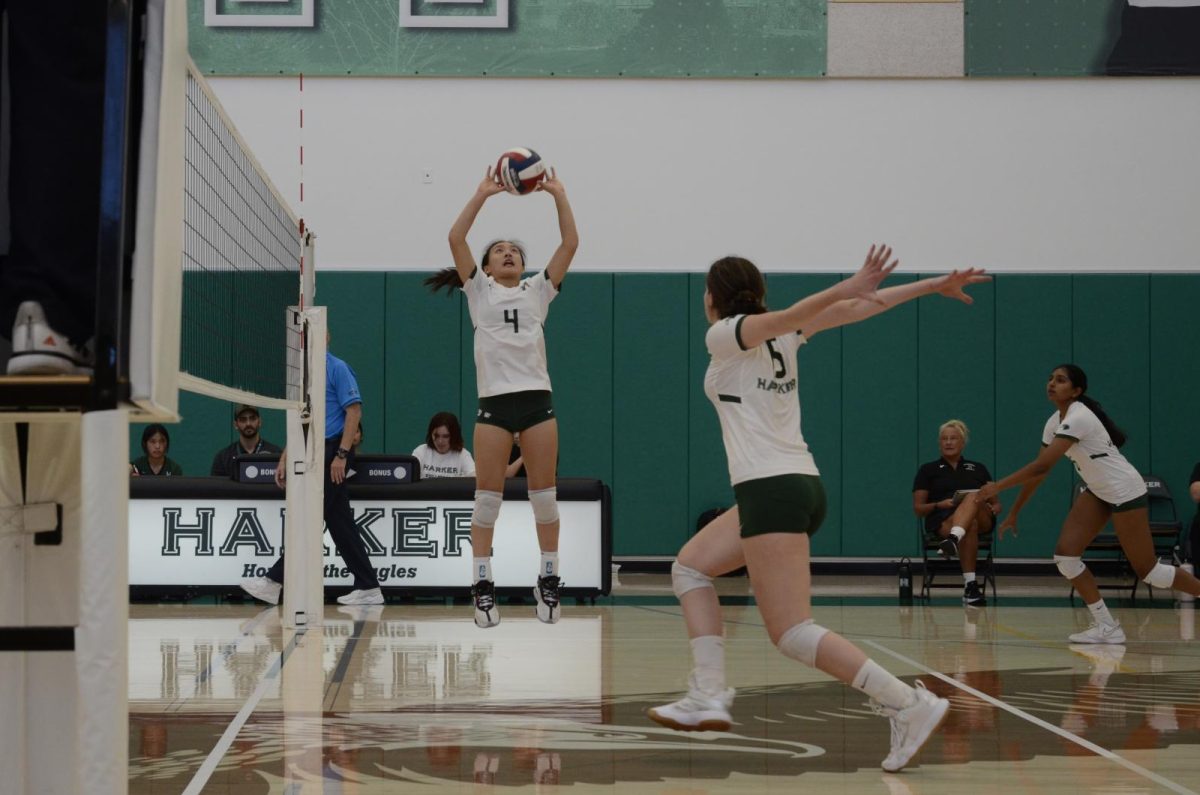
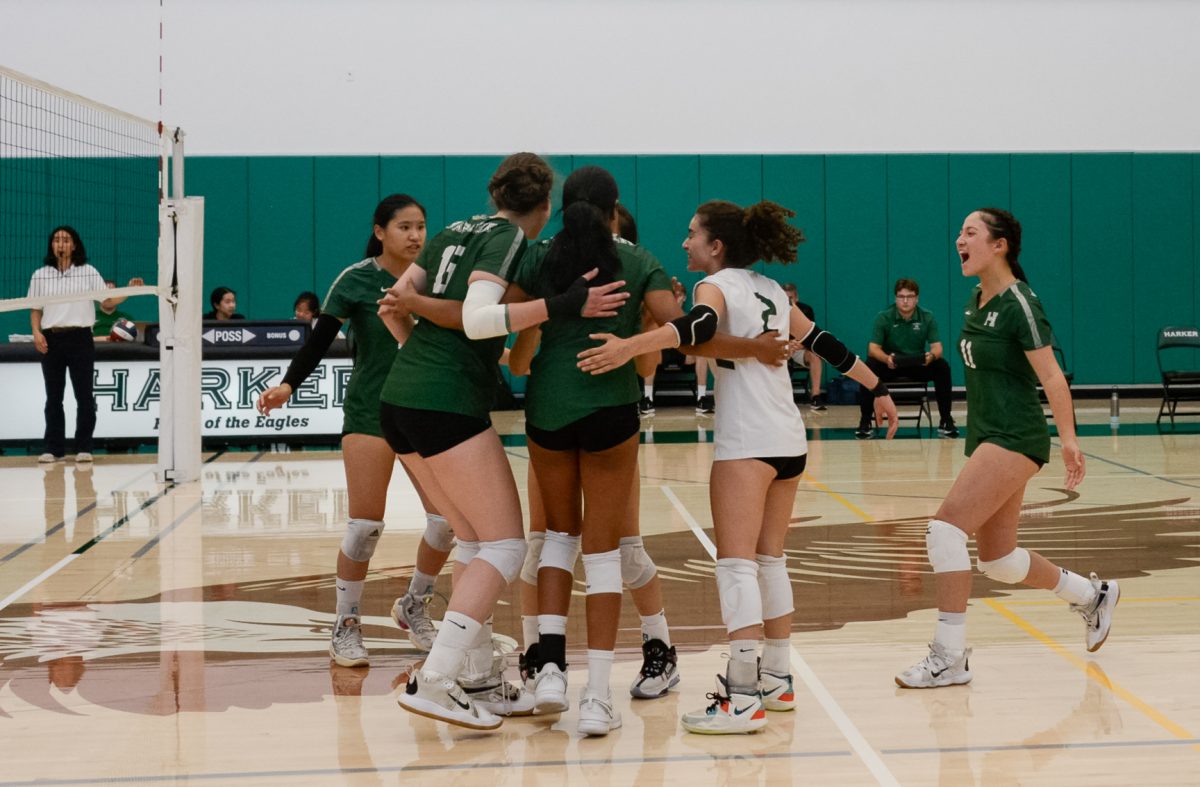
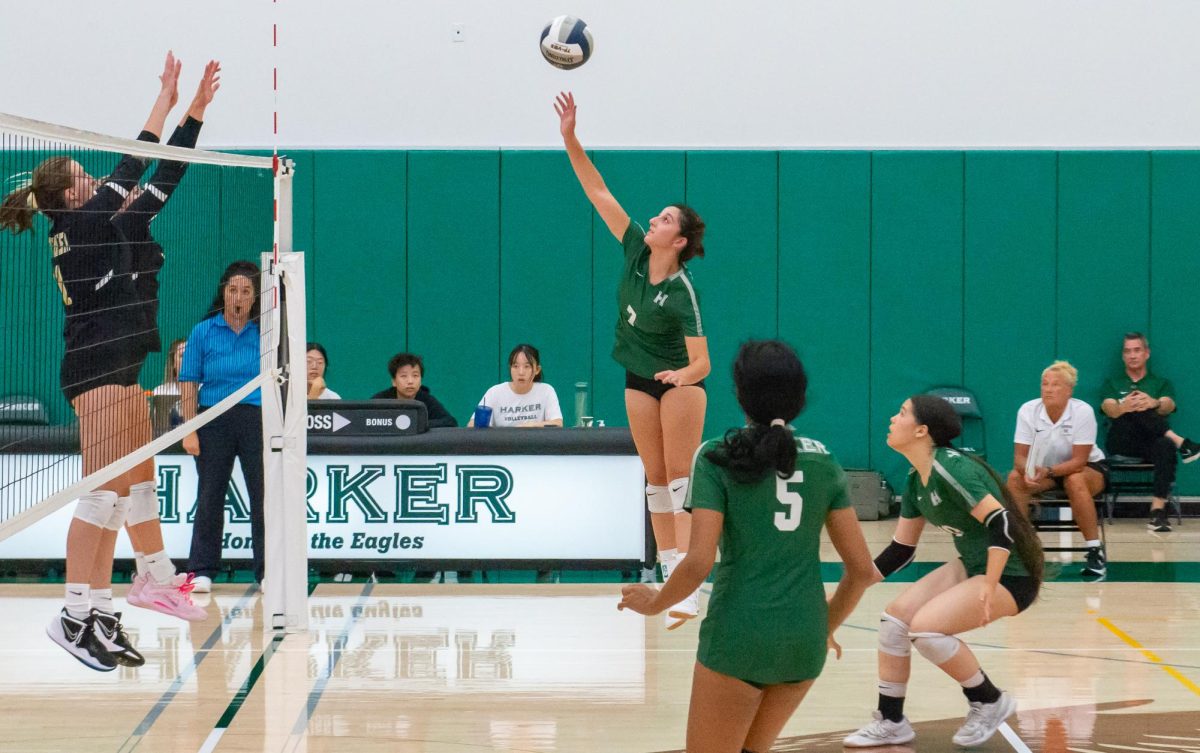
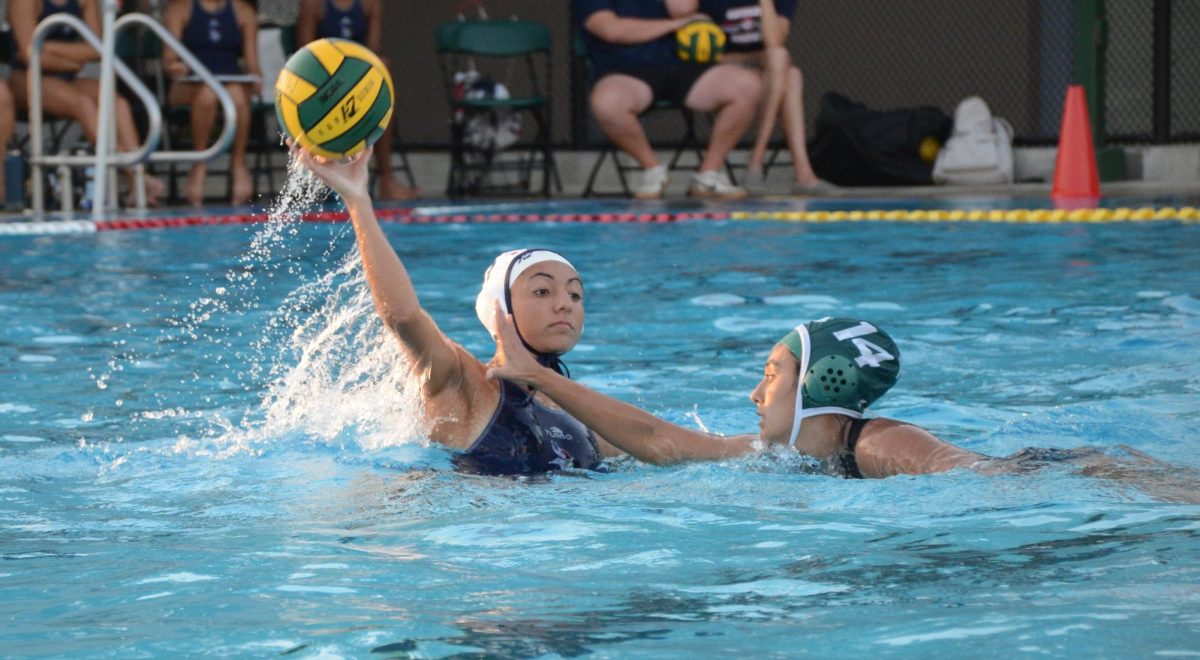
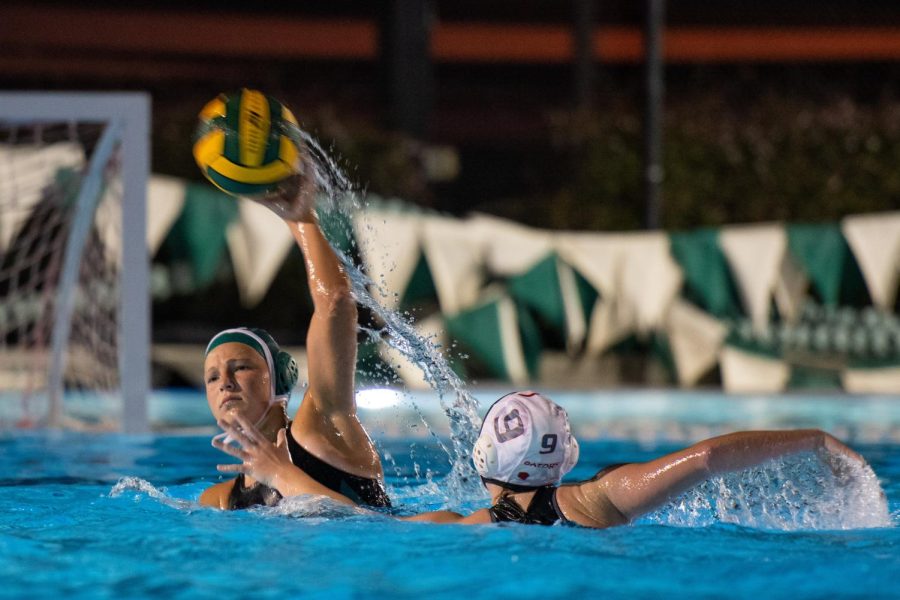
![Setter Emma Lee (9) sets the ball to the middle during the match against Pinewood on Sept. 12. “[I’m looking forward to] getting more skilled, learning more about my position and also becoming better friends with all of my teammates, Emma said.](https://harkeraquila.com/wp-content/uploads/2023/09/DSC_4917-2-1200x795.jpg)


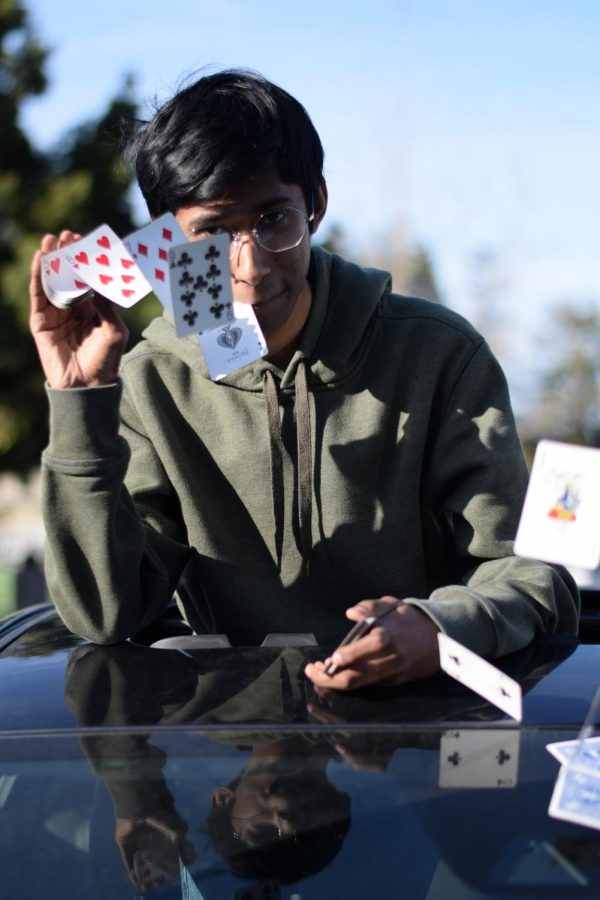
![“[Building nerf blasters] became this outlet of creativity for me that hasnt been matched by anything else. The process [of] making a build complete to your desire is such a painstakingly difficult process, but Ive had to learn from [the skills needed from] soldering to proper painting. Theres so many different options for everything, if you think about it, it exists. The best part is [that] if it doesnt exist, you can build it yourself, Ishaan Parate said.](https://harkeraquila.com/wp-content/uploads/2022/08/DSC_8149-900x604.jpg)
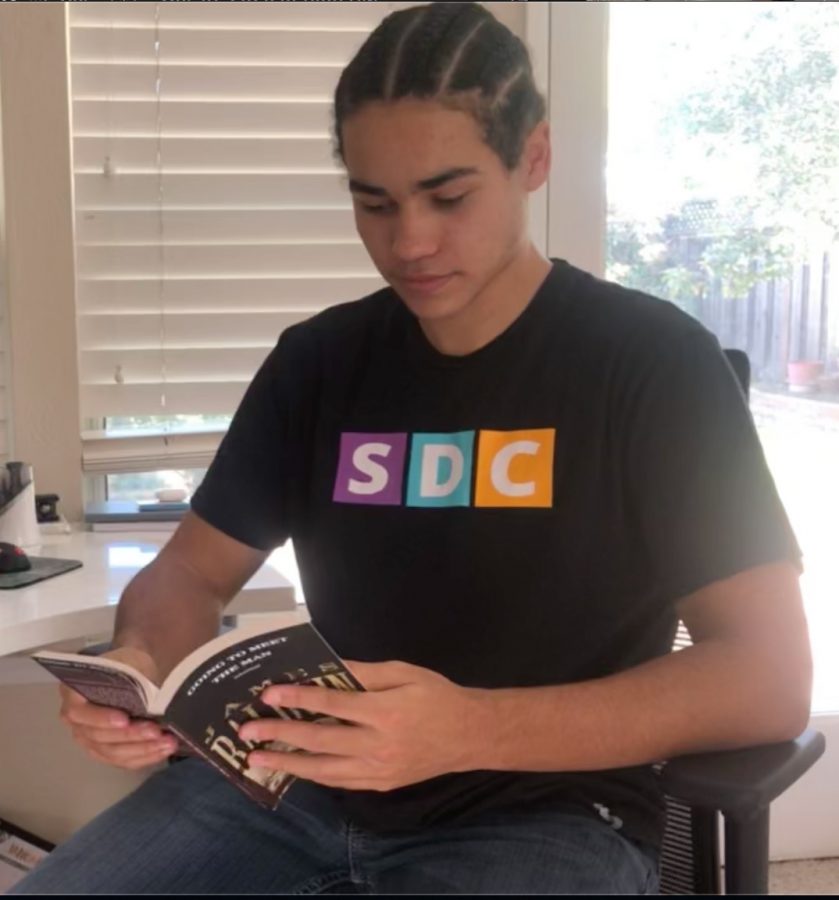
![“Animation just clicked in a way. I had been interested in art, but that felt different. [Animation] felt like it had something behind it, whereas previous things felt surface level. I wasnt making that crazy of things, but just the process of doing it was much more enjoyable, Carter Chadwick (22) said.](https://harkeraquila.com/wp-content/uploads/2022/08/Screen-Shot-2022-08-16-at-9.44.08-AM-900x598.png)

![“When I came into high school, I was ready to be a follower. But DECA was a game changer for me. It helped me overcome my fear of public speaking, and its played such a major role in who Ive become today. To be able to successfully lead a chapter of 150 students, an officer team and be one of the upperclassmen I once really admired is something Im [really] proud of,” Anvitha Tummala (21) said.](https://harkeraquila.com/wp-content/uploads/2021/07/Screen-Shot-2021-07-25-at-9.50.05-AM-900x594.png)


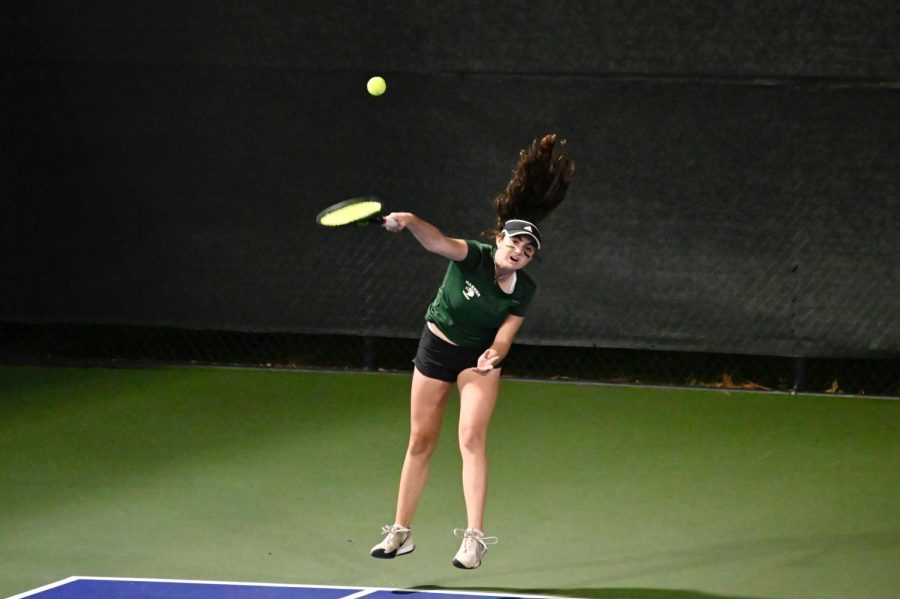
![“[Volleyball has] taught me how to fall correctly, and another thing it taught is that you don’t have to be the best at something to be good at it. If you just hit the ball in a smart way, then it still scores points and you’re good at it. You could be a background player and still make a much bigger impact on the team than you would think,” Anya Gert (’20) said.](https://harkeraquila.com/wp-content/uploads/2020/06/AnnaGert_JinTuan_HoHPhotoEdited-600x900.jpeg)
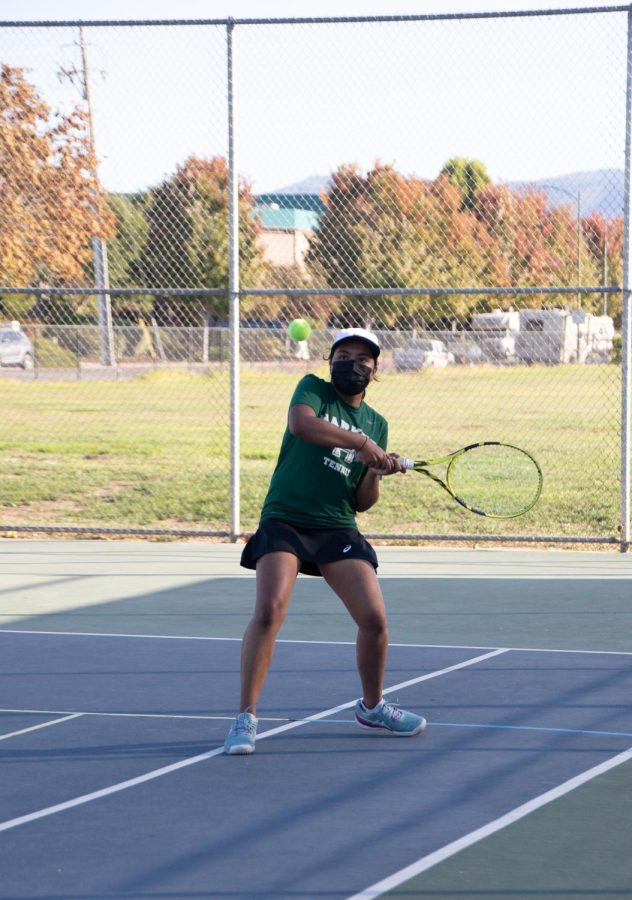
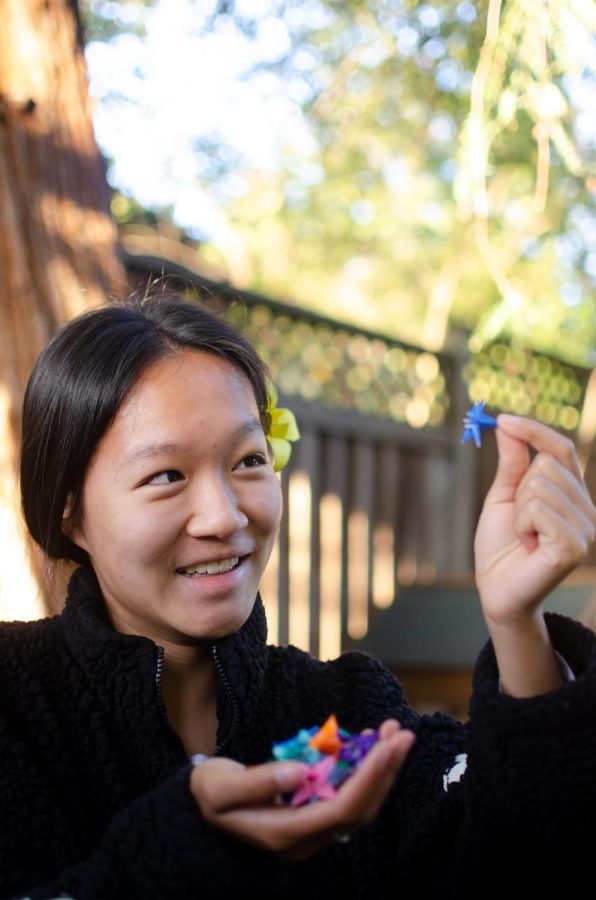
![“Im not nearly there yet, but [my confidence has] definitely been getting better since I was pretty shy and timid coming into Harker my freshman year. I know that theres a lot of people that are really confident in what they do, and I really admire them. Everyones so driven and that has really pushed me to kind of try to find my own place in high school and be more confident,” Alyssa Huang (’20) said.](https://harkeraquila.com/wp-content/uploads/2020/06/AlyssaHuang_EmilyChen_HoHPhoto-900x749.jpeg)


![“My slogan is ‘slow feet, don’t eat, and I’m hungry.’ You need to run fast to get where you are–you arent going to get those championships if you arent fast,” Angel Cervantes (12) said. “I want to do well in school on my tests and in track and win championships for my team. I live by that, [and] I can do that anywhere: in the classroom or on the field.”](https://harkeraquila.com/wp-content/uploads/2018/06/DSC5146-900x601.jpg)

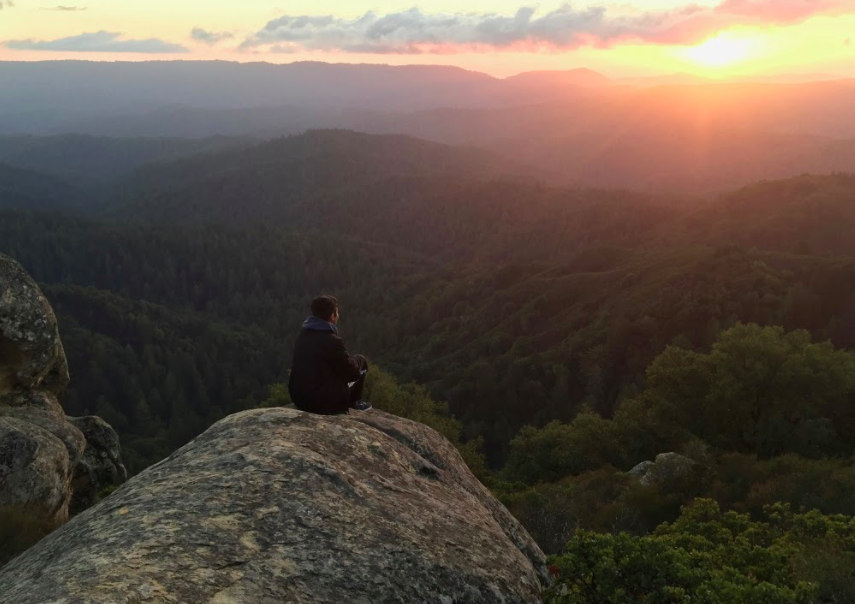
![“I think getting up in the morning and having a sense of purpose [is exciting]. I think without a certain amount of drive, life is kind of obsolete and mundane, and I think having that every single day is what makes each day unique and kind of makes life exciting,” Neymika Jain (12) said.](https://harkeraquila.com/wp-content/uploads/2017/06/Screen-Shot-2017-06-03-at-4.54.16-PM.png)


Time to prepare for Winter Ball while managing other activities is running out. Try these simple and fast nail decoration ideas to save time while still sparkling tomorrow night.
Glitter Manicure – 20 to 30 minutes
Supplies:
1) Base coat
2) Glitter nail polish
3) Scotch tape
4) Light brown nail polish
5) Clear top coat
Instructions:
1) Begin by applying a base coat to clean, buffed nails. Base coat ensures that the following nail polish will go on smoothly.
2) Use the tape to cover the entire nail except for the tips. Carefully paint the tip of the nail with glitter nail polish.
3) Remove the tape and apply one coat of the light brown nail polish to the nail except the glittered tip, making sure to use only a few strokes per nail.
4) Seal the finished manicure using a clear top coat.
5) Let nails dry for at least 10 minutes.
Rhinestone Snowflake Nails – 30 minutes
Supplies:
1) Base coat
2) Colored nail polish of choice. Dark blue and black are great options to consider, but any color will work.
3) Silver or white rhinestones with a flat backing
4) Dotting tool (Toothpicks will work)
5) Clear top coat
Instructions:
1) Begin by applying a base coat to clean, buffed nails. A base coat ensures that the following nail polish will go on smoothly.
2) Apply one or two coats of the colored nail polish of choice to the nail.
3) Using a dotting tool, apply a small amount of base coat to the flat backside of a rhinestone.
4) Lightly press the coated rhinestone onto the center of the nail.
5) Continue to apply rhinestones to the nail in the shape of a flower, working from the center outwards. Working from the center outwards reduces the chance of smudges or creases.
6) After all nails are completely dry, seal them with a top coat. Be careful not to move the rhinestones.
Winter Tree Nails – 15 minutes
Supplies:
1) Base coat
2) Colored nail polish of choice
3) White nail polish
4) Dotting tool (Toothpicks will work)
5) Top coat
Instructions:
1) Begin by applying a base coat to clean, buffed nails. A base coat ensures that the following nail polish will go on smoothly.
2) Apply one or two coats of the colored nail polish of choice to the nail.
3) Dip the dotting into the white nail polish. Starting from the bottom of the nail, make thin lines that resemble the branches of a tree.
4) When all the nails are dry, seal them with a top coat.