


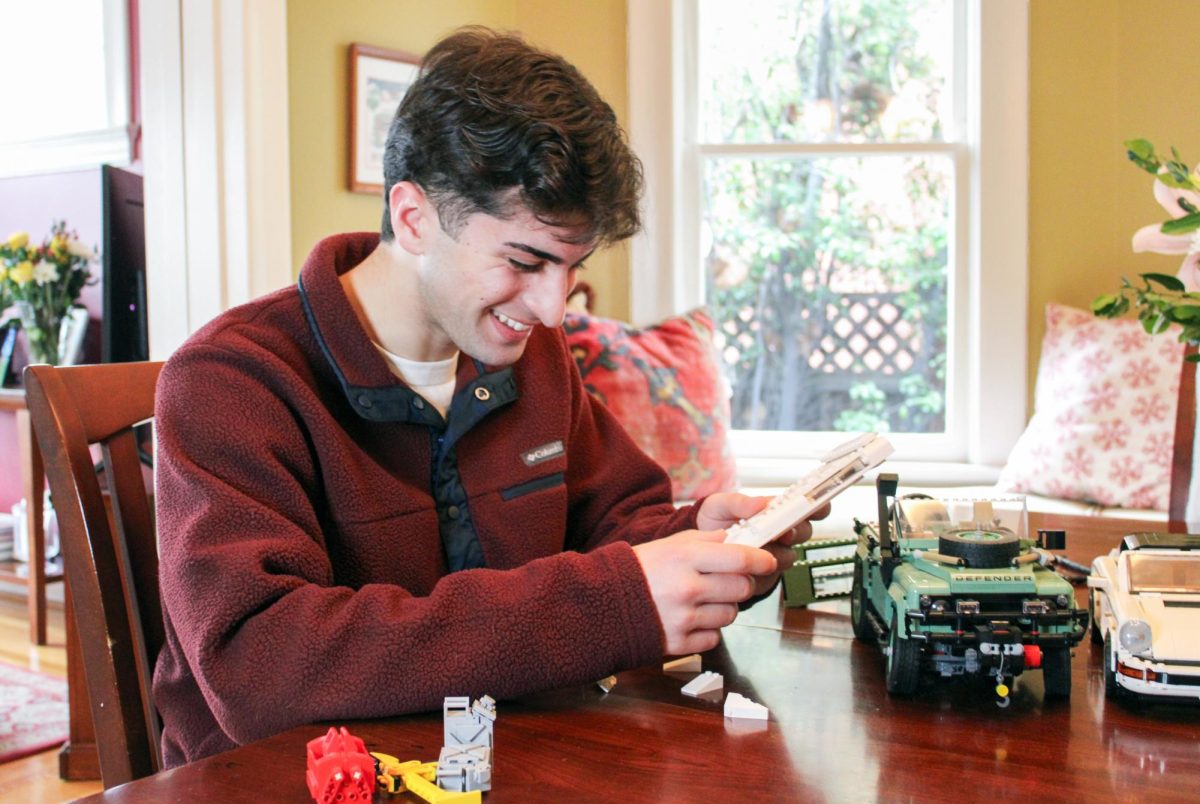


![“[Building nerf blasters] became this outlet of creativity for me that hasn't been matched by anything else. The process [of] making a build complete to your desire is such a painstakingly difficult process, but I've had to learn from [the skills needed from] soldering to proper painting. There's so many different options for everything, if you think about it, it exists. The best part is [that] if it doesn't exist, you can build it yourself," Ishaan Parate said.](https://harkeraquila.com/wp-content/uploads/2022/08/DSC_8149-900x604.jpg)


![“When I came into high school, I was ready to be a follower. But DECA was a game changer for me. It helped me overcome my fear of public speaking, and it's played such a major role in who I've become today. To be able to successfully lead a chapter of 150 students, an officer team and be one of the upperclassmen I once really admired is something I'm [really] proud of,” Anvitha Tummala ('21) said.](https://harkeraquila.com/wp-content/uploads/2021/07/Screen-Shot-2021-07-25-at-9.50.05-AM-900x594.png)


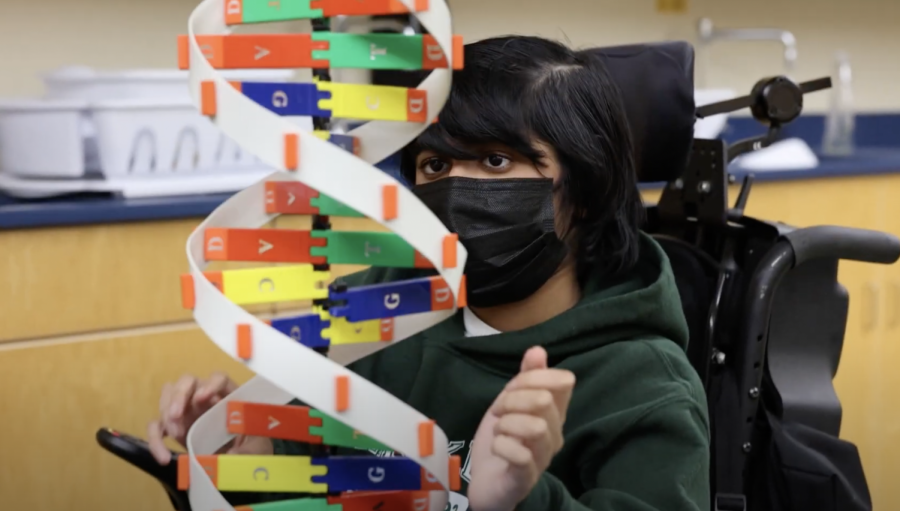
![“I think getting up in the morning and having a sense of purpose [is exciting]. I think without a certain amount of drive, life is kind of obsolete and mundane, and I think having that every single day is what makes each day unique and kind of makes life exciting,” Neymika Jain (12) said.](https://harkeraquila.com/wp-content/uploads/2017/06/Screen-Shot-2017-06-03-at-4.54.16-PM.png)


![“My slogan is ‘slow feet, don’t eat, and I’m hungry.’ You need to run fast to get where you are–you aren't going to get those championships if you aren't fast,” Angel Cervantes (12) said. “I want to do well in school on my tests and in track and win championships for my team. I live by that, [and] I can do that anywhere: in the classroom or on the field.”](https://harkeraquila.com/wp-content/uploads/2018/06/DSC5146-900x601.jpg)
![“[Volleyball has] taught me how to fall correctly, and another thing it taught is that you don’t have to be the best at something to be good at it. If you just hit the ball in a smart way, then it still scores points and you’re good at it. You could be a background player and still make a much bigger impact on the team than you would think,” Anya Gert (’20) said.](https://harkeraquila.com/wp-content/uploads/2020/06/AnnaGert_JinTuan_HoHPhotoEdited-600x900.jpeg)

![“I'm not nearly there yet, but [my confidence has] definitely been getting better since I was pretty shy and timid coming into Harker my freshman year. I know that there's a lot of people that are really confident in what they do, and I really admire them. Everyone's so driven and that has really pushed me to kind of try to find my own place in high school and be more confident,” Alyssa Huang (’20) said.](https://harkeraquila.com/wp-content/uploads/2020/06/AlyssaHuang_EmilyChen_HoHPhoto-900x749.jpeg)


Zooming through Zoom
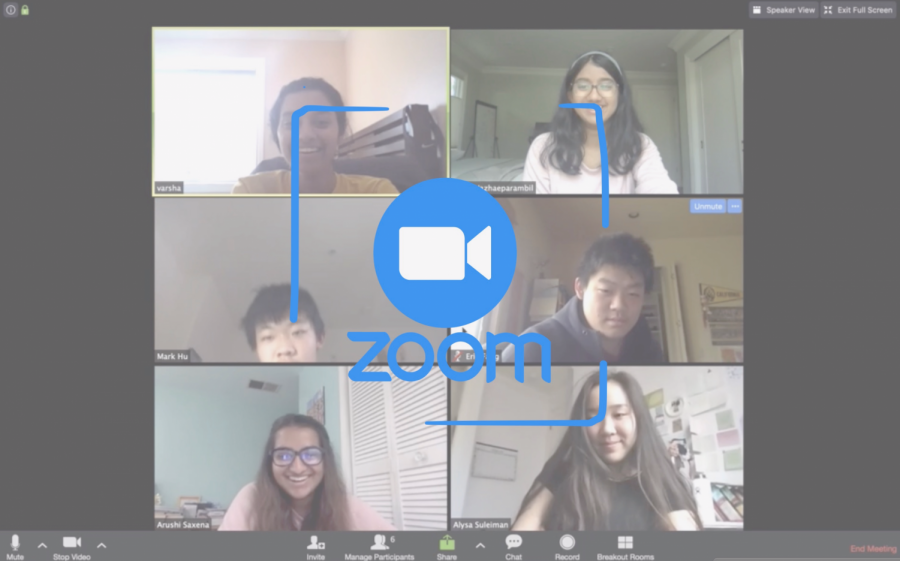
Members of Harker Journalism test out Zoom’s features as upper school students made the transition to virtual learning last week.
March 25, 2020
It’s been a week since we made the transition to online learning on the beautiful Zoom campus, and I think it’s safe to say that we haven’t seen this much confusion over a software change since the controversial shift to Infinite Campus of 2019. Regardless, the upper school community has started adjusting to the current situation, and — as reluctant as I am to admit this — we need to start getting comfortable with the idea of seeing our classmates and teachers in the intimate confines of their own homes for the time being.
So to help get you more familiar with the ins and outs of the virtual classroom and to avoid any mishaps in the upcoming weeks, here is a list that includes everything you may need to know as we venture out into this uncharted territory. And I know you must be wondering what makes me, someone with absolutely zero experience in online learning, so qualified in giving advice, and the truth is… I’m not. But after extensive research on Google and having struggled alongside everyone else to understand the program over the past week, I hope to share the many things I’ve learned with all of you.
So without further ado, here are Harker Aquila’s 10 tips and tricks for learning on Zoom!
1. Whiteboard
During your week of isolation, have you found yourself missing the pristine surface of a good old-fashioned white board? Do you mourn the loss of problem sets that can no longer be solved during class? Well, fear not — Zoom’s whiteboard feature is here to save the day! This tool allows anyone in the classroom to share a digital “whiteboard” with other participants, and while it may be a mediocre substitute of the real thing, it is infinitely times better than the alternative: typing out equations on a Word document.
By clicking ‘Viewing Options’ and ‘Annotate’ at the top of the screen, anyone can write and contribute to this communal board. From visualizing physics diagrams to drawing pictures for vocabulary practice, the applications are diverse and numerous. And at last, those many, many hours of playing skribbl.io with friends are being put to good use!
A quick heads-up about this one before we move on: anything you write on the whiteboard will appear on everyone’s screens, so it can get chaotic at times if too many people are using it at the same time. I would recommend taking turns or figuring out another system to avoid confusion and to keep the session productive.
2. Breakout Rooms
If you find that maintaining an open, free-flowing discussion over Zoom can be rather intimidating when you are not face-to-face with your classmates, then you’ll especially enjoy this next one. The Breakout Rooms feature allows the host of a meeting to divide up the classroom into separate groups, either manually or by a random generator. There can be up to 50 new sessions and any number of participants in each one.
When students are moved to new rooms, teachers can still monitor what’s happening in each one by physically clicking on a specific breakout session to join. And even if the teacher isn’t currently present, students can send them an alert by clicking the ‘Help’ button at the bottom of the screen.
Overall, this feature is a convenient way to still have group projects and discussions over Zoom and maintain the collaboration aspect of the classroom. It can also be a chance to reconnect with classmates or to serve as a private room for teachers to have conversations with individual students.
3. Screen Share
Up next is the screen sharing feature, yet another way to make the virtual classroom slightly more similar to a normal classroom. Zoom is unique in that it offers a dual-monitoring option, where two participants can share their screens at the same time, and it also allows members to annotate the screen at any point, which further expands the possibilities of what can be done on the platform.
From lectures to class presentations, screen sharing can be used in any subject — for viewing biology powerpoints, English discussion prompts, or even physics proofs. And the uses don’t stop there! With so many applications, this is easily one of the more essential tools and will definitely become a staple of your Zoom experience.
4. Zoom Scheduling
The last major feature to cover doesn’t take place during the actual video call, but right before it. If you’re concerned with how to still have meetings now that we’ve moved online, the Zoom scheduling tool can solve all your problems.
With this option, you are able to create meetings beforehand and send invites to participants through Google Calendar, which is an easy way for everyone to keep track of upcoming appointments and events that occur outside of classes. This would be super helpful for club officers — clubs can schedule a time to meet up regularly, and members can use the same link to join the session each week (we’ll all appreciate having to send and receive fewer emails as well).
5. Raising Hand
Moving onto some of the smaller tips and pieces of advice, we’ll first start off with the ‘Raise Hand’ tool, which you can access by pulling up the list of participants from the bottom of the screen and clicking on the hand icon next to your name. If you find yourself missing the thrill of shooting your hand up in the air, eager to answer a question in math class or contribute your introspective interpretations in English, this one’s definitely for you.
It can be difficult to stop a lesson to ask a question or add your own thoughts to the discussion. By virtually raising your hand, you can let your teacher know that you have something to say, and they can call on you when they see the blue hand by your name. That’s right — this means no more awkward interruptions or silenced opinions!
6. Zoom Chat
In the past week alone, Zoom has crashed nearly 10 times for me due to slow WiFi. And with four other people also using the software in my house, this will undoubtedly happen several more times in the future. While I don’t want my teachers thinking that I’m dipping on their classes, I also would prefer not to interrupt them and my peers to explain why I’ve mysteriously disappeared and re-joined five times within the past 15 minutes. So times like this call for Zoom’s chat function!
This feature allows you to send messages during a video call, either to everyone in the class or privately to individual participants. And the uses are numerous! If you have a personal question for your teacher, use the chat. If you need to send a file to your classmates, use the chat. If you need to go to the bathroom or get a quick drink of water, please use the chat!
But with this said, I highly don’t recommend chatting unless you absolutely need to send something to your teacher or to the entire class. Don’t send funny TikToks to your friend or make side comments. First of all, it’s obviously super disrespectful and rude to not pay attention. I speak from a purely logical perspective when I say that you do not want to send the wrong message to the wrong person! It can be really difficult to remember that you need to manually switch who you talk to before sending a chat, because all of the messages appear on the same screen. Please save yourself the embarrassment, and wait until class is over just like you would at school.
7. Meeting Reactions
Do you struggle to convey emotions during your Zoom classes, to look engaged after blankly staring at the computer screen for an entire day? Look no further — this next feature is one I recently learned about, and I’m excited to try it out when I get the chance: meeting reactions.
If someone has just made an interesting argument or finished an impressive presentation and you’re simply too exhausted to aggressively nod your head or smile to show agreement and support, then consider using a Zoom reaction, which you can find at the bottom of your screen. Why put in the extra effort when you can send a clapping hands or thumbs up emoji to do it for you?
8. Record Meetings
Another useful advantage about transitioning to online learning in Zoom is being able to you to record lectures or discussions through the platform.
Obviously, this is something that can only be done with your teacher’s permission (and before you go ahead and record without their consent, note that everyone in the session can see if it is being recorded). But if you are going over a challenging concept with your classmates or having an interesting discussion that you might want to reflect on later, this can be a cool way to review content, especially for times when it is difficult to take notes on the material (for example, when you’re learning a physics concept that is impossible to follow on paper or you’re simply too sleep-deprived to properly focus). And I’m sure that we would love to have these permanent reminders of our classes to cherish for years to come.
9. Consider Your Environment
As we start wrapping this up, the following piece of advice is something I want to say on behalf of your classmates, your teachers, and the entire Harker community: come to school with pants on.
I know, I know — who will even know if you don’t? But on behalf of everyone who has the pleasure of Zoom-ing with you, I kindly ask that you dress appropriately for school. In the words of our Director of Learning, Innovation and Design, Diane Main, “this is not merely a suggestion.” And while we’re on this topic, here are a couple other friendly reminders to remember about Harker’s protocol with online learning.
First, close the door to your room during calls if you are able to. Speaking from personal experience, having a sibling or parent peer inside without knowing you’re still in class is not ideal. Second, don’t Zoom from bed — especially if you’re feeling sleepy! And third, mute yourself when necessary. Some teachers may want your microphone turned on during classes so be sure to check with them first, but if they have no preference and there’s something going on in your background, do everyone a favor and just turn it off.
10. Virtual Background
And finally, let’s pretend that you slept in past your alarm one morning and you don’t have the time to clean up your room before joining class — a pretty realistic situation if you’re anything like me. For times like this, when your surrounding environment is less than ideal, consider using a virtual background. This is a really cool feature on Zoom and brings some fun into the classroom.
Now I know you must be wondering, what should my virtual background be? Over the past week, I’ve seen everything from the Harker library to a relaxing beach, but as long as your image is appropriate and in good taste, I’m sure you can get a smile from everybody in the room.
This concludes my tips and tricks for online learning over Zoom. To all of you who have stuck around till the end, happy Zoom-ing!