


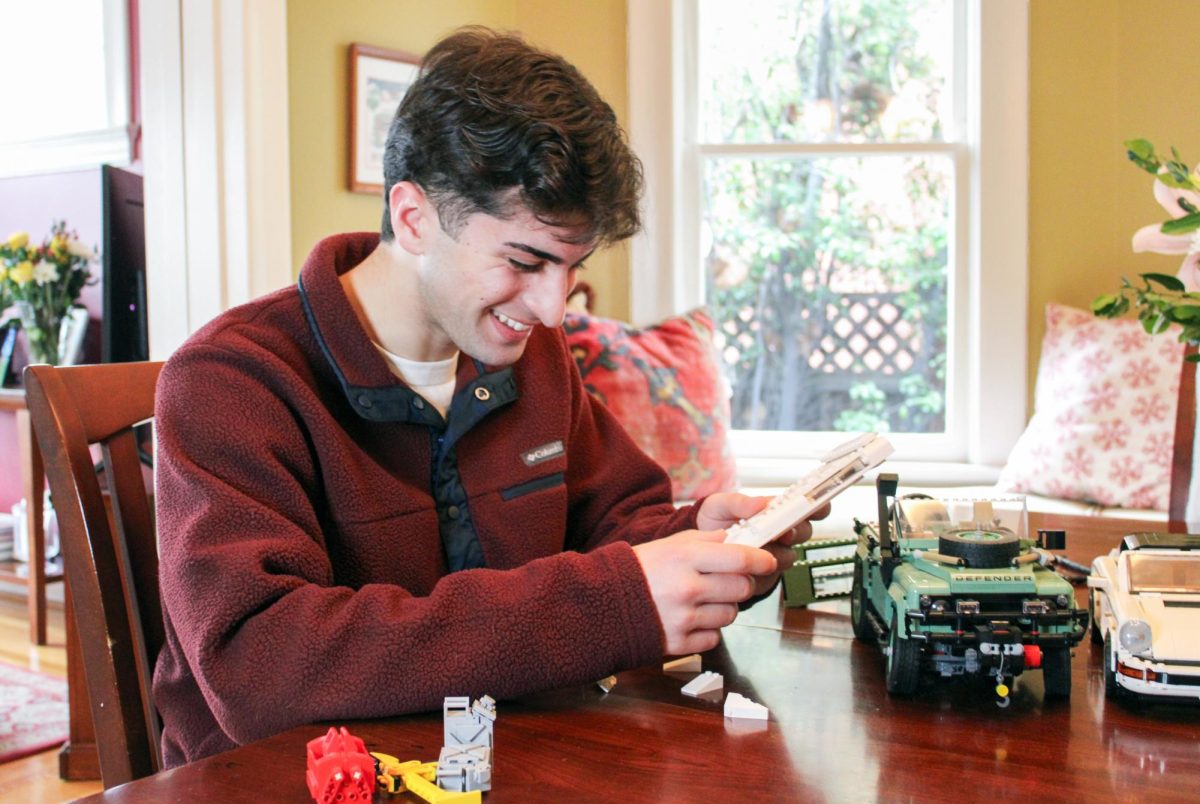


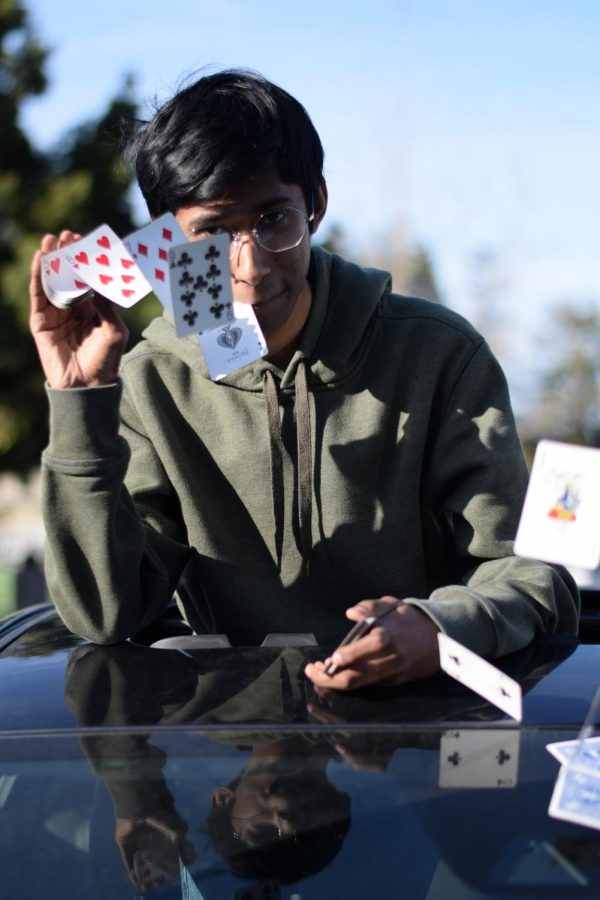
![“[Building nerf blasters] became this outlet of creativity for me that hasn't been matched by anything else. The process [of] making a build complete to your desire is such a painstakingly difficult process, but I've had to learn from [the skills needed from] soldering to proper painting. There's so many different options for everything, if you think about it, it exists. The best part is [that] if it doesn't exist, you can build it yourself," Ishaan Parate said.](https://harkeraquila.com/wp-content/uploads/2022/08/DSC_8149-900x604.jpg)


![“When I came into high school, I was ready to be a follower. But DECA was a game changer for me. It helped me overcome my fear of public speaking, and it's played such a major role in who I've become today. To be able to successfully lead a chapter of 150 students, an officer team and be one of the upperclassmen I once really admired is something I'm [really] proud of,” Anvitha Tummala ('21) said.](https://harkeraquila.com/wp-content/uploads/2021/07/Screen-Shot-2021-07-25-at-9.50.05-AM-900x594.png)


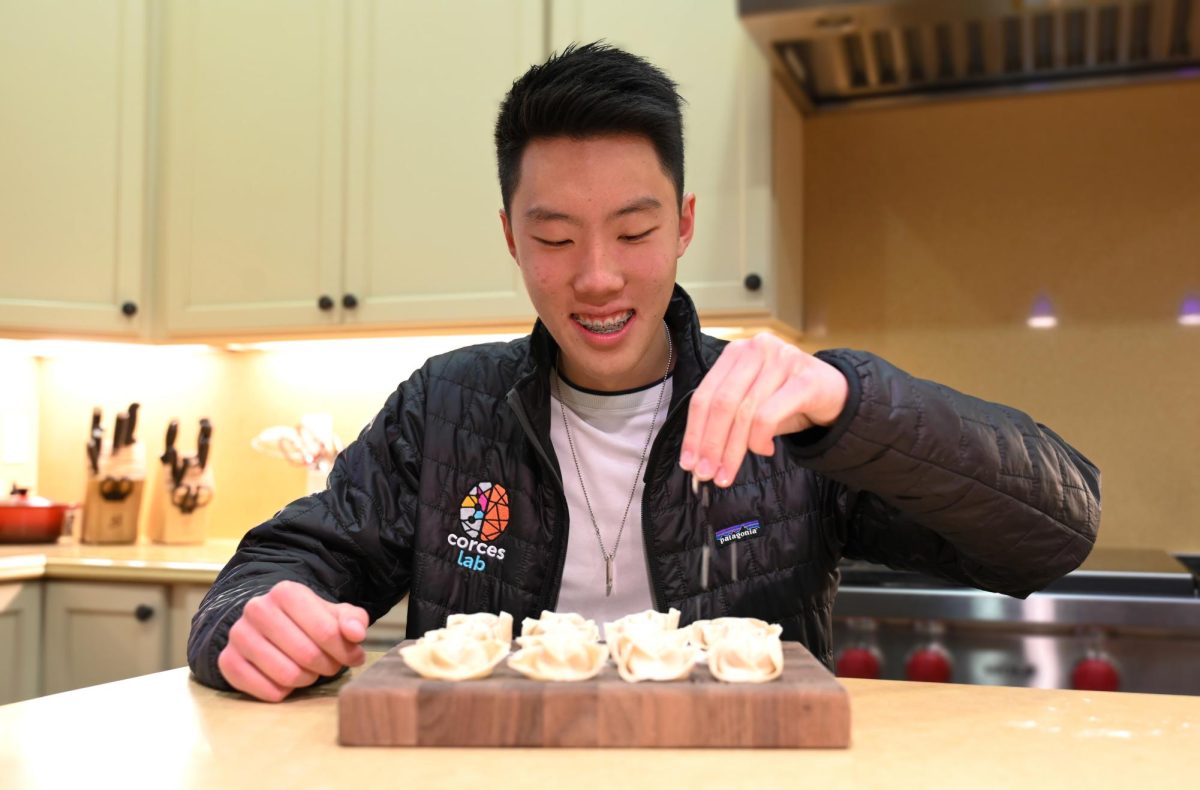
![“I think getting up in the morning and having a sense of purpose [is exciting]. I think without a certain amount of drive, life is kind of obsolete and mundane, and I think having that every single day is what makes each day unique and kind of makes life exciting,” Neymika Jain (12) said.](https://harkeraquila.com/wp-content/uploads/2017/06/Screen-Shot-2017-06-03-at-4.54.16-PM.png)


![“My slogan is ‘slow feet, don’t eat, and I’m hungry.’ You need to run fast to get where you are–you aren't going to get those championships if you aren't fast,” Angel Cervantes (12) said. “I want to do well in school on my tests and in track and win championships for my team. I live by that, [and] I can do that anywhere: in the classroom or on the field.”](https://harkeraquila.com/wp-content/uploads/2018/06/DSC5146-900x601.jpg)
![“[Volleyball has] taught me how to fall correctly, and another thing it taught is that you don’t have to be the best at something to be good at it. If you just hit the ball in a smart way, then it still scores points and you’re good at it. You could be a background player and still make a much bigger impact on the team than you would think,” Anya Gert (’20) said.](https://harkeraquila.com/wp-content/uploads/2020/06/AnnaGert_JinTuan_HoHPhotoEdited-600x900.jpeg)
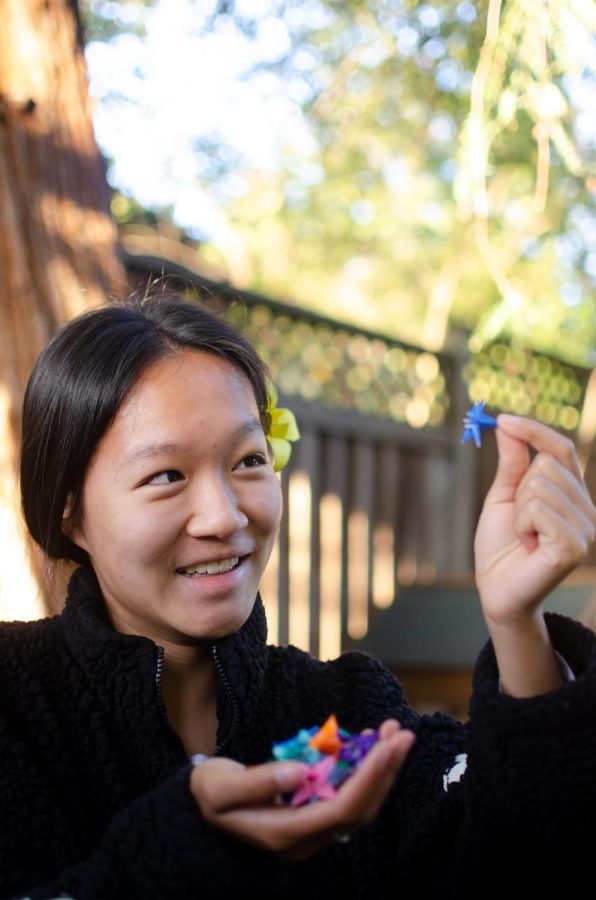
![“I'm not nearly there yet, but [my confidence has] definitely been getting better since I was pretty shy and timid coming into Harker my freshman year. I know that there's a lot of people that are really confident in what they do, and I really admire them. Everyone's so driven and that has really pushed me to kind of try to find my own place in high school and be more confident,” Alyssa Huang (’20) said.](https://harkeraquila.com/wp-content/uploads/2020/06/AlyssaHuang_EmilyChen_HoHPhoto-900x749.jpeg)


If your home is in desperate need of holiday decorations, look no further! Try these simple and affordable ideas to adorn your house. Each item should take between 30 minutes to an hour to create.
Card Tree: Spare holiday cards are very easily made into a card tree. Because card trees are not a common type of decoration, they will certainly turn a lot of heads!
Supplies:
1. At least seven holiday cards
2. At least seven cleaned tree branches
3. Ribbon
4. Hole punch
5. Styrofoam
5. Pot, ideally one used for plants
Instructions:
1. Place an ample amount of styrofoam into the pot.
2. Stick the tree branches firmly into the styrofoam, so the branches do not move upon touch.
3. Punch a hole at the top of each card.
4. Thread the ribbon through the hole and tie the ribbon around a branch.
5. Complete the rest of the tree by attaching one card to each branch.
Pinecone Ornaments: Pinecone ornaments are excellent last-minute decorations. In addition to catching any form of light, these ornaments sparkle from across the room.
Supplies:
1. Cleaned pinecones
2. Spray paint
3. Glitter
4. Ribbon
5. Superglue
Instructions:
1. Spray paint all the pinecones. Any color or decoration will work.
2. While the pinecones are drying, roll them in glitter.
3. Cut several strands of ribbon and super-glue the center of each strand to the top of a pinecone.
4. Tie both ends of the ribbon into a loop.
5. Hang the pinecone ornament on a Christmas tree.
Yarn Ball Wreath: Original and unusual, a yarn ball wreath placed on the front door is an creative alternative to the basic, store-bought Christmas wreath.
Supplies:
1. Yarn of various colors
2. Hot glue gun and/or superglue
3. Foam balls of various sizes
4. Foam wreath
Instructions:
1. Wrap the yarn around the foam balls in any preferred way, and secure by tying a knot.
2. Using fingers, pry apart the yarn at the bottom of the ball, so a small portion of styrofoam is exposed.
3. Apply glue onto the exposed portion of styrofoam.
4. Before the glue dries, place the foam ball on the foam wreath.
5. Complete the process for each foam ball. Try to start by placing the larger foam balls on the wreath first, and work down accordingly.